Getting Started with Rust – Raspberry Pi VS Code Extension

The Raspberry Pi Foundation have recently announced an update to the Visual Studio Code (VS Code) extension. The update now supports developing embedded firmware for Pico using Rust or Zephyr. The announcement is timely given my current aim of learning Rust with the aim of developing on embedded platforms.
Time to give the extension a spin.
TL;DR It just works.
Updates and Pre-requisites
The post starts by giving an overview of what the extension can do as well as:
- Overview of Rust
- Overview of Zephyr
- Getting (or updating) the extension
- Installing any pre-requisites
The development platform used when researching this post is MacOS and a previous version of the VS Code extension had already been installed on the platform. Upgrading the extension was as easy as simply using the VS Code Check for Updates… menu item.
Creating a Rust Project
First step in creating an application is to activate the Raspberry Pi extension by clicking on the Pico Extension icon on the Primary Side bar:

Next select the New Rust Project:
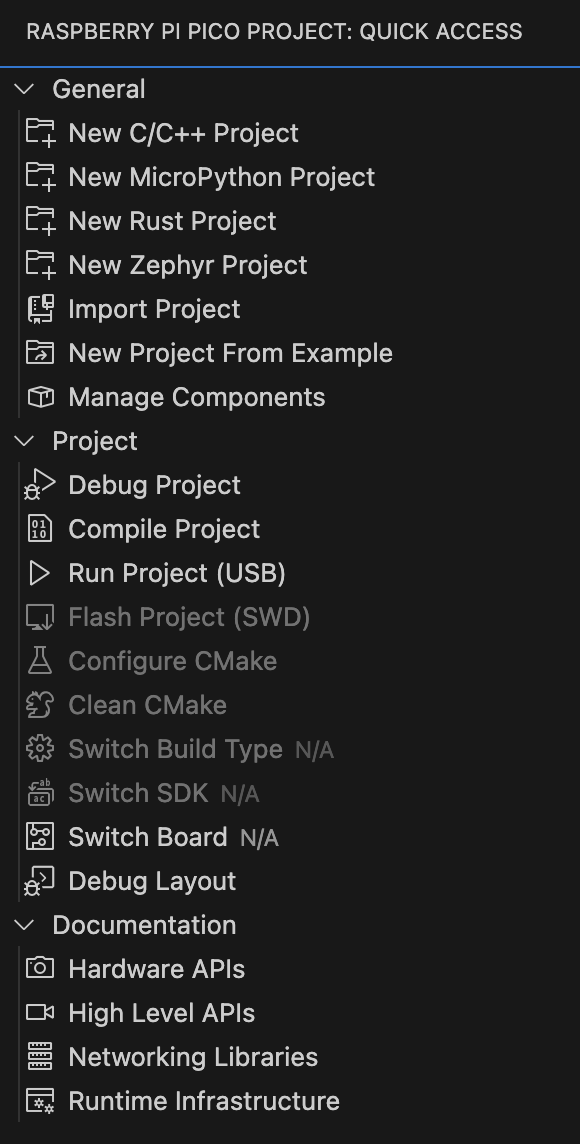
This will show the New Rust Project options:
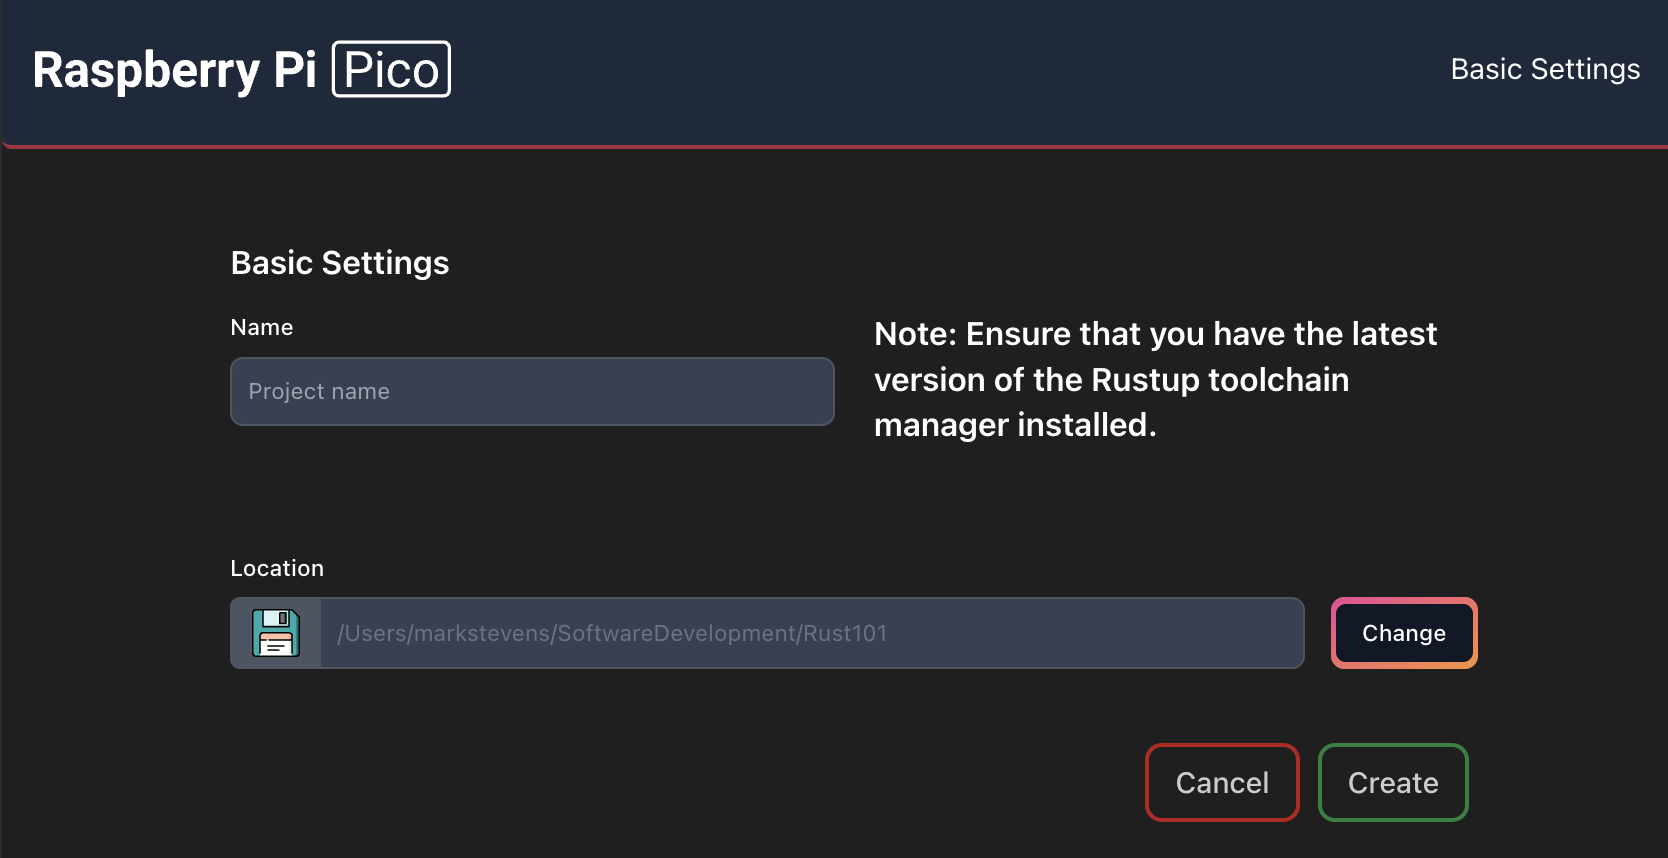
Here we just need to supply a name for the project and the location for the project files. One point to note is that the project name appears to be restricted:
- Lower case letters only
- Start with a letter
- Numbers
- – or _
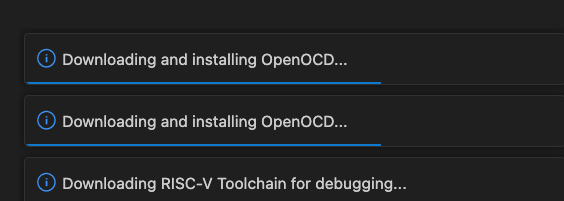
It was necessary to check and deploy the SDK when this was run for the first time and this took a minute or so.
Subsequent runs took about 5 seconds to create and configure a new project.
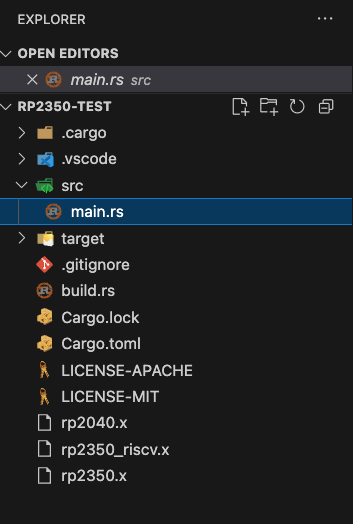
Finally, VS Code will open the Directory view which shows all of the project files:
Running the Application
By default the project appears to be configured as a 2350 project. The original post from Raspberry Pi states:
supports both RP2040– and RP2350-based devices — including the RISC-V target — which you can later select in the toolbar, next to the Run button.
I must admit, this took a little while to locate. The Run button appears at the far right on the bottom toolbar:
![]()
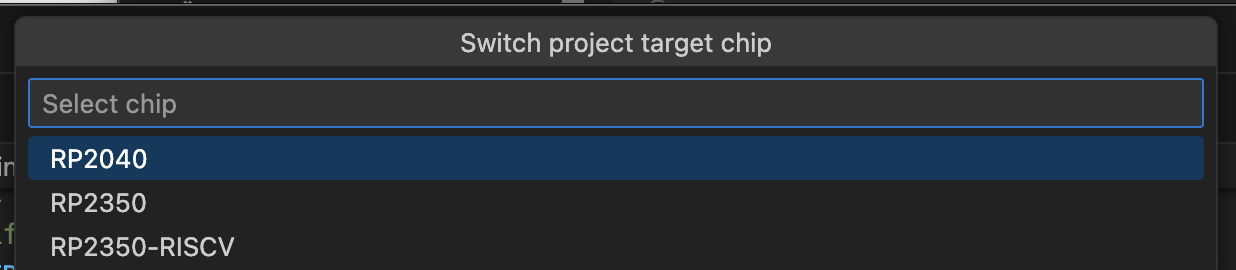
Clicking on the chip name allows the target chip to be selected in the command palette:
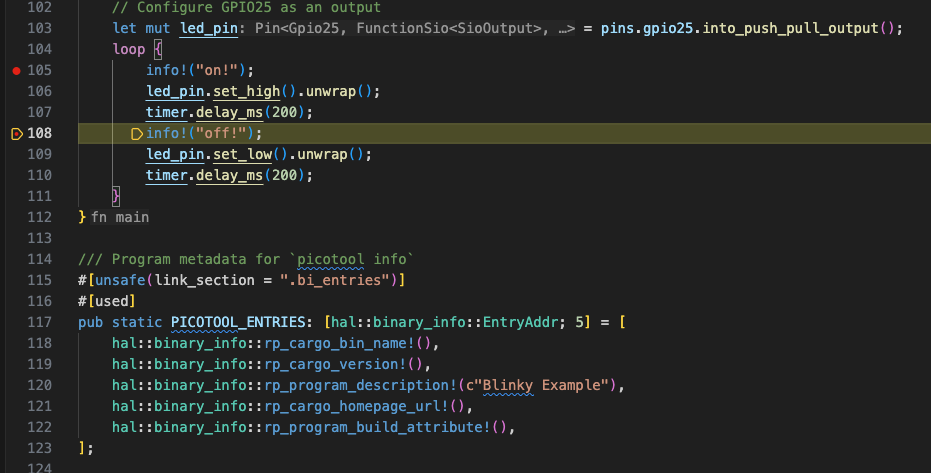
Final steps, setting some breakpoints in the application and debugging the application. This is achieved using the Debug and Run facility in Debug view (alternatively press F5):
A few seconds later deployment had completed and the first breakpoint was hit:
Additional Components
The post recommends installing three optional components/extensions:
- Probe-rs
- Cortex Debug
- Rust analyzer
These had already been deployed to the development machine and are simple to install.
Conclusion
There were a couple of points of confusion, one when the extensions downloaded a few components (this made the creation of the first application take a while). The second was changing the target chip type, it took a minute or so to find the Run button.
Having installed several embedded toolchains over the years I think this was the simplest and probably the best experience and is on a par with commercial toolchains such as Keil.
Tags: Electronics, Raspberry Pi, Rust, Software Development
Friday, November 7th, 2025 at 10:09 am • Electronics, Raspberry Pi, Rust, Software Development • RSS 2.0 feed Both comments and pings are currently closed.
