RSS

Archive for the ‘General’ Category

Dell 1320c on Mac OS

Wednesday, November 15th, 2023

Add Dell 1320c Header

Upgrading machines is always an interesting experience, reinstalling software and drivers. The latest update from an Intel Mac to Apple silicon was no exception. The majority of the process went to plan with the only major issue being the installation of the Dell 1320c printer driver.

Some History

The Dell 1320c printer is a fairly old colour laser printer and this device is about 12 years old but it has seen very light service. Replacing a such a lightly used machine is not only environmentally unfriendly but also an unnecessary expense.

Driver support for this printer has always been patchy on newer machines which is understandable. The trick with this printer is not to install it as a Dell 1320c printer but instead use the Xerox C525 driver.

This year has seen several failed attempts to install the driver on Apple silicon machine with the latest attempt working, hence this post in case it helps others (and also my future self).

Installing the Driver

The driver can be installed by following these steps:

1 – Open the Printer and Scanner Settings

Open the Printer and Scanner settings and click the Add Printer, Scanner or Fax.. button.

Add New Printer

Add New Printer

2 – Add Printer Properties

The printer being installed in a network printer and completing the IP address allows the computer to find the printer and complete some of the printer properties.

Add Printer Dialog

Add Printer Dialog

Two setting need to be changed. The first is the Protocol, this should be set to HP Jetdirect – socket.

The second setting that needs to be changed is the driver. Click the Use drop down and select Select Software…. This will present you with the Printer Software dialog.

3 – Install the Xerox Driver

In the Printer Software dialog, search for C525 and select the Xerox C525 A v3.2 driver.

Printer Software Dialog

Printer Software Dialog

Click the OK button to add the printer.

The only thing is to test the installation by printing a test page.

Conclusion

Getting the Dell 1320c driver installed is not difficult, it is simply a case of knowing the tricks to get it working. This is something that is only performed every few years and hopefully this will help the next time this driver need to be installed on a new machine.

Mac Remote Access

Sunday, October 15th, 2023

SSH Login Command

This blog serves two purposes:

  • Sharing information that I hope is useful to others
  • Aide-Memoire for yours truly

This post falls into the second group, something I’ve done in the past but forgotten.

Background

The current project requires the test environments to be expanded. Several of the environments are running on Raspberry Pi SBC which is feasible now that they are available in volume once again. There is one exception, a Mac Mini with a M1 processor. This environment allows the usual tests to be run in the same manner as the Raspberry Pi boards. It also gives the ability to build the code and attach a debugger to the board invaluable for tests that are known to be failing and need to run for an extended period of time.

This sort of setup is ideal for running headless, no monitor, keyboard or mouse; we can just use MacOS screen sharing and ssh.

What is Wrong?

Enter a new (well secondhand) Mac Mini. Setup went well, attached a keyboard and mouse and ran through the setup process with no issues. Logged on to the Mac and all is well. A few configuration tweaks to enable screen sharing and remote login were required, nothing too complex, just a case of setting the right permissions.

Next step, test the remote connection. Screen sharing started OK and the Mac appeared on the network with file sharing enabled. Time for a reboot.

System rebooted OK, time to browse the network.

The new machine was not showing in the network browser and ssh was able to establish the connection.

Back to the still connected keyboard and mouse to log on. Once logged in the system once again appeared in the network browser and screen sharing and ssh worked flawlessly.

Time for another reboot and the same thing happened, machine booted OK but nothing appeared on the network until a successful login through the attached keyboard and mouse.

The Solution

This is where it gets odd. Apparently, you have to turn FileVault off. That’s right you have to turn the disc encryption off in order to enable fully remote logon.

FileVault is turned on automatically during the MacOS installation processes which makes sense. Disc encryption will make it harder for a malicious actor to recover sensitive information from a machine, so disc encryption on modern machines is good. The side effect of this is that you must logon to the Mac via an attached keyboard before it will turn up on the network.

Conclusion

I have a solution of sorts but I do find it odd that disc encryption must be disabled before remote services can be enabled on the Mac. After all, if you require remote access to a system then you are likely to be putting the physical machine in a location where access is going to be difficult.

Projects for 2016

Sunday, January 31st, 2016

The Christmas break always gives time to plan the coming years projects. Like all hobbyists I’m sure that I’m going to be planning far more projects than I have time to complete. One thing that I am going to try and do is complete some of the projects from former years.

LED Cube

So let’s start with the LED cube. This project started a while ago and the electronics and software worked well but the LEDs have ended up sitting on a shelf for a few years. The aim was to house the cube in a suitable case but for some reason this was never really completed.

Time for a change.

The first step in the completing the project is to connect the LED cube to a base board. The board would provide the power to the LEDs, nothing more, just power to the LEDs. The design utilised a simple transistor circuit to turn the LEDs on or off. A pull-down resistor ensures that the default situation for the switch will be the off position:

Transistor LED Schematic

Transistor LED Schematic

Multiply this by 64 and you have the base board for the LED cube. The PCB layout looks like this:

LED Cube Base Board Layout

LED Cube Base Board Layout

The board design was sent for manufacture in early-mid December. This is by far the largest (although not the most complex) design I have had made. The board was 20cm x 20cm. The final boards arrived just before Christmas:

The top of the board has 64 pads laid out in a grid for the LEDs:

LEDBaseBoardTop

The bottom of the board has 64 copies of the power circuit above:

LED Base Board Power Circuit

LED Base Board Power Circuit

When I was applying the solder paste to this board I was wishing I could afford a solder mask. After building a couple of power circuits it occurred to me that a simple mask could be made using an overhead acetate (remember these from the 1980s/90s) and a dremel. It does not matter that the holes in the mask would be circular, only that they are in the correct position. A 1mm diameter drill bit in a dremel and a piece of acetate provide the right amount of solder paste to the board.

A tip for the future.

The next step was to mouth the LEDs. Easier said than done. The cube had already been assembled and so the legs of the LEDs had to be coaxed into position. Several hours later we have:

LEDs On Base Board

LEDs On Base Board

Soldering on some connectors allows a quick check of each LED in the cube. It works 🙂

Next step is to look at the control circuitry.

Other Plans

As well as completing the cube, there are a few other projects that are in the pipeline:

  • Christmas jumper for a friend – adding some lights, we all love LEDs
  • Get to grips with FPGAs
  • Docker and Vagrant – I know Vagrant can help me with ESP8266 development
  • ESP8266, ESP32?, Photon, Oak and RedBear Duo – There is going to be a lot of IoT in 2016
  • Complete the wireless infra-red remote control

2016 – time to complete some projects and start some new ones.

Going Over to the Dark Side

Monday, August 10th, 2015

Finder and Visual Studio

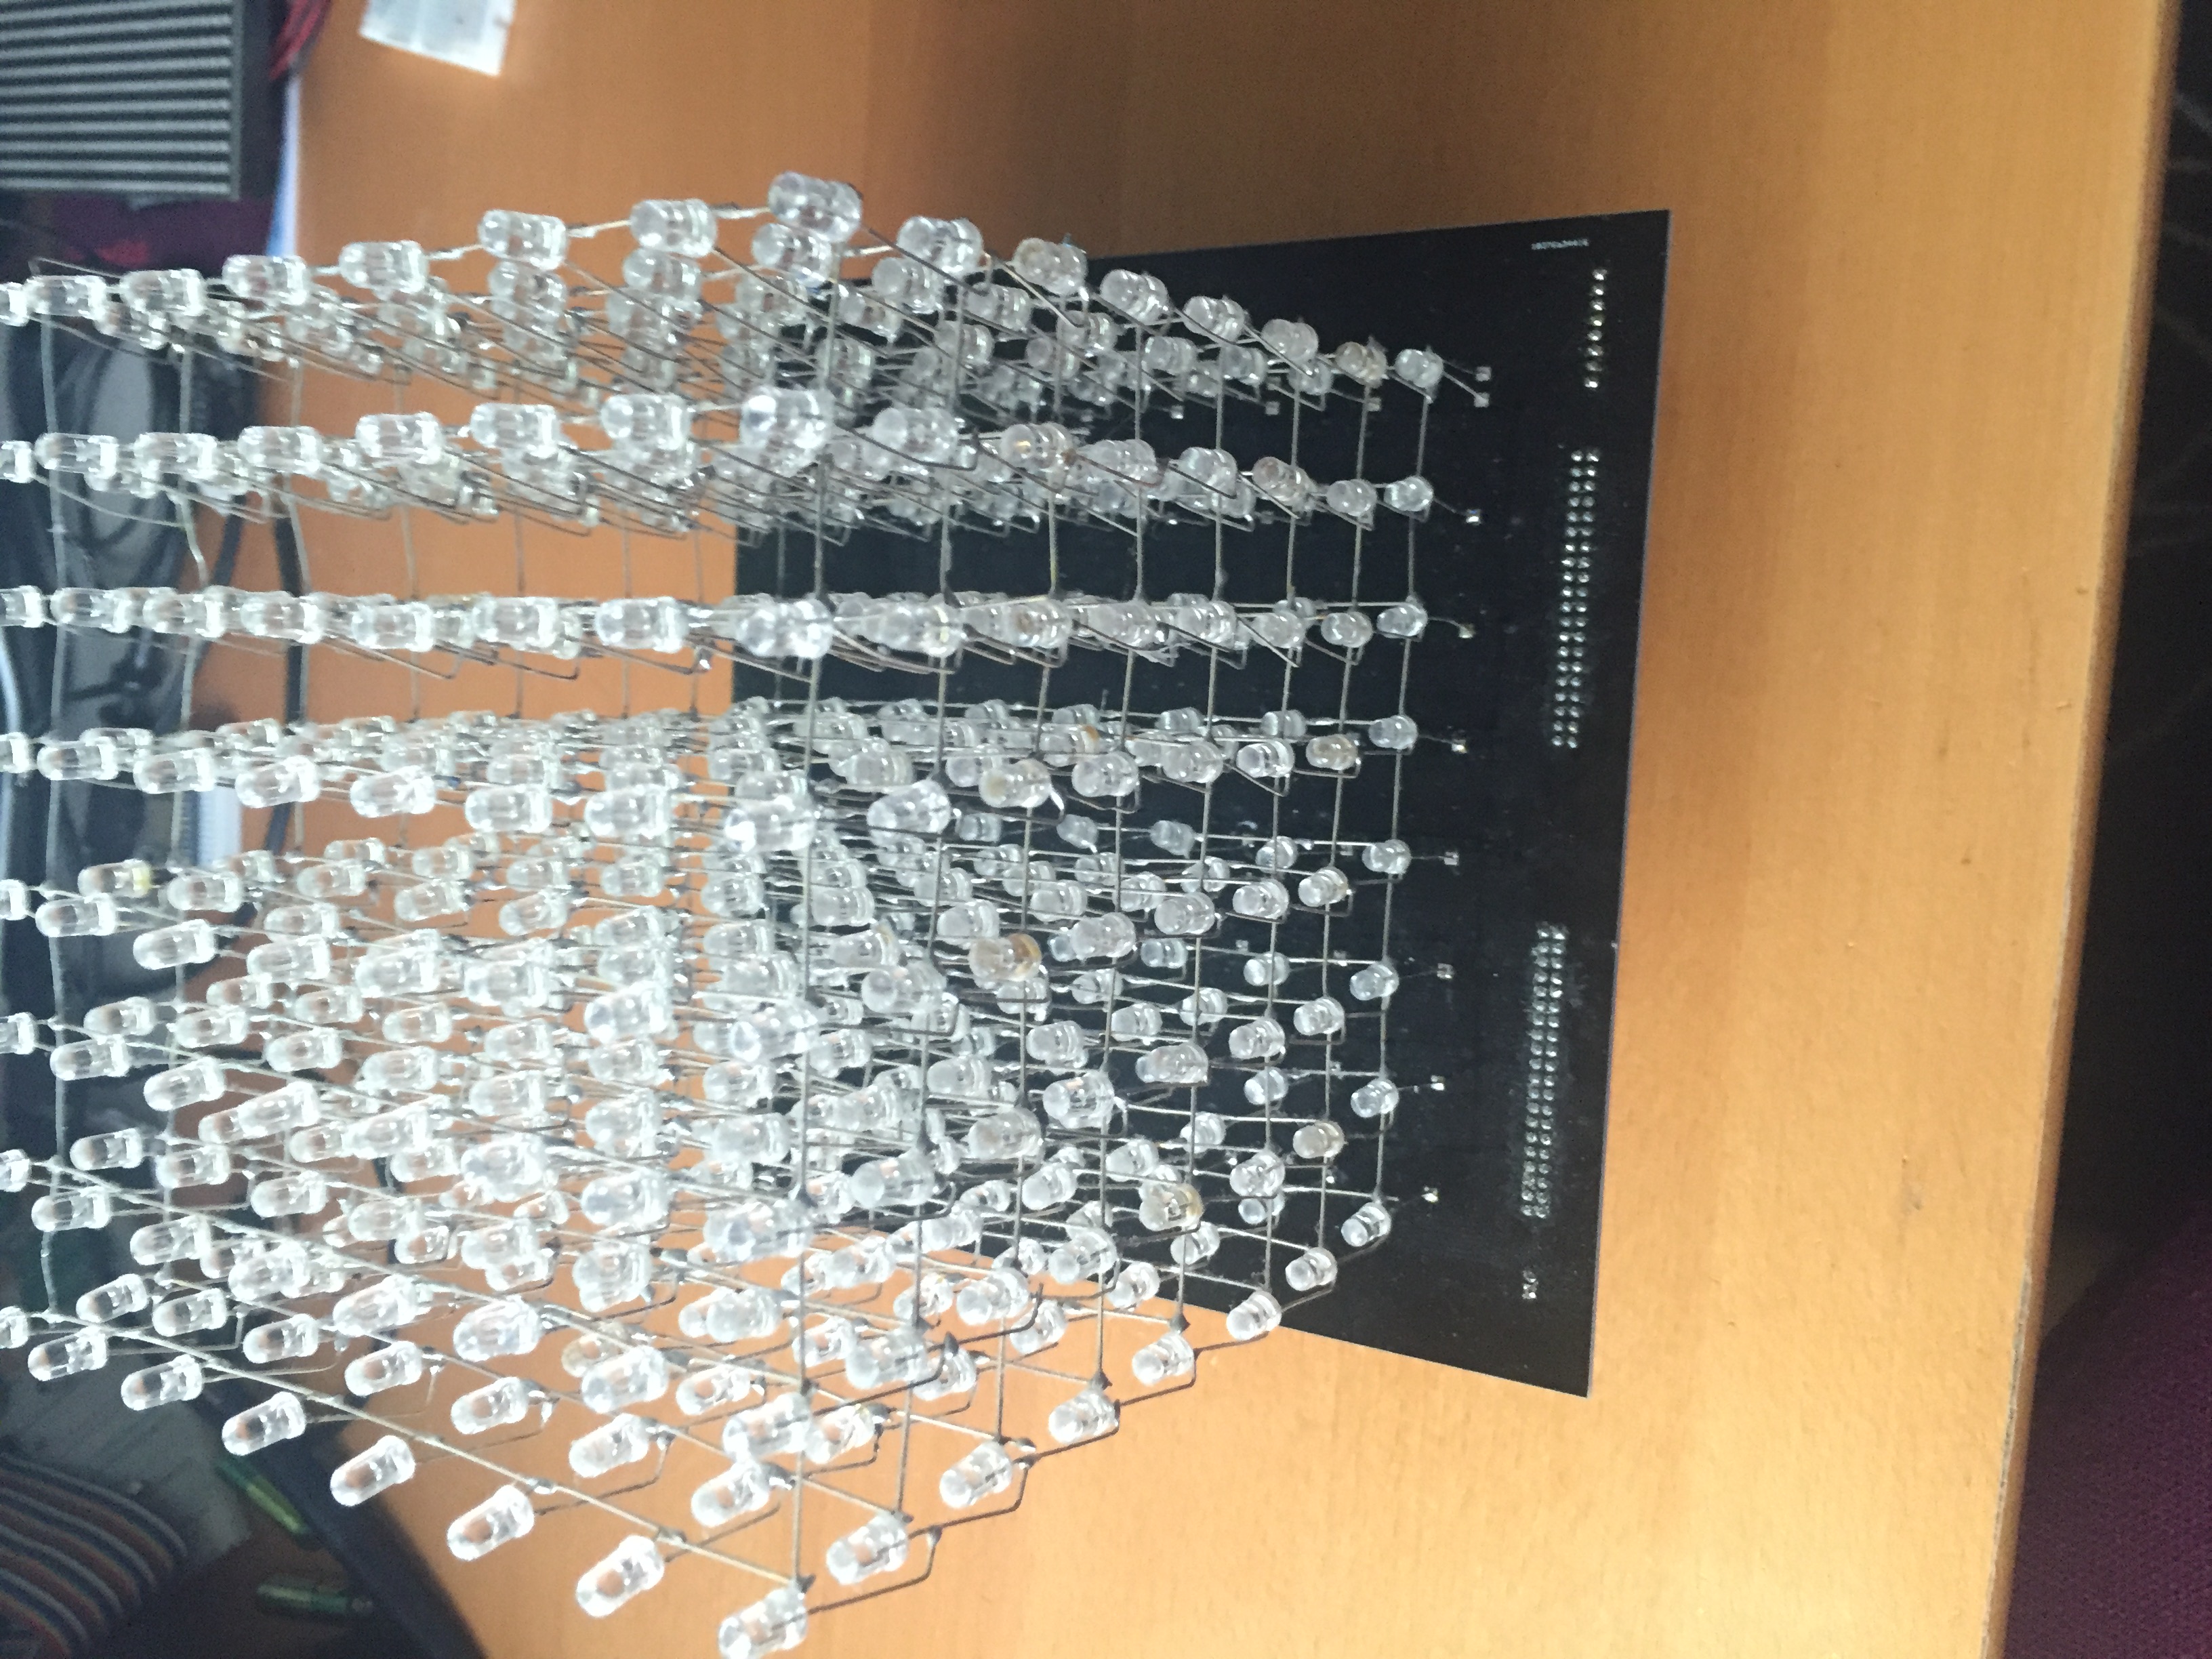
The last few weeks has been busy but not with hardware, the STM8, STM32 and the Netduino have all been idle. It has however been an interesting month as I have been moving from PC development on to a Mac.

The Dark Side Beckons

Every few year I upgrade the home hardware set up. Slowly over the years these upgrades have become more costly to the point where light-weight portable PCs have approached the cost of equivalent Apple products. Add to this the fact that I also do some iPhone/iPad development and need an Apple machine the cost difference starts to become even smaller, in fact they nearly disappear.

This last few months has seen the time for the periodic renewal of the home IT system. Given the cost differences becoming smaller I had to consider Apple as a viable option.

Conflicting Demands

So what do I really need?
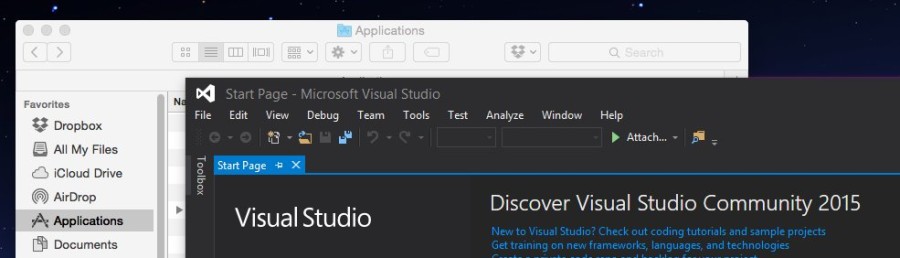
  1. Visual Studio
  2. iPhone/iPad/Mac development
  3. Netduino development
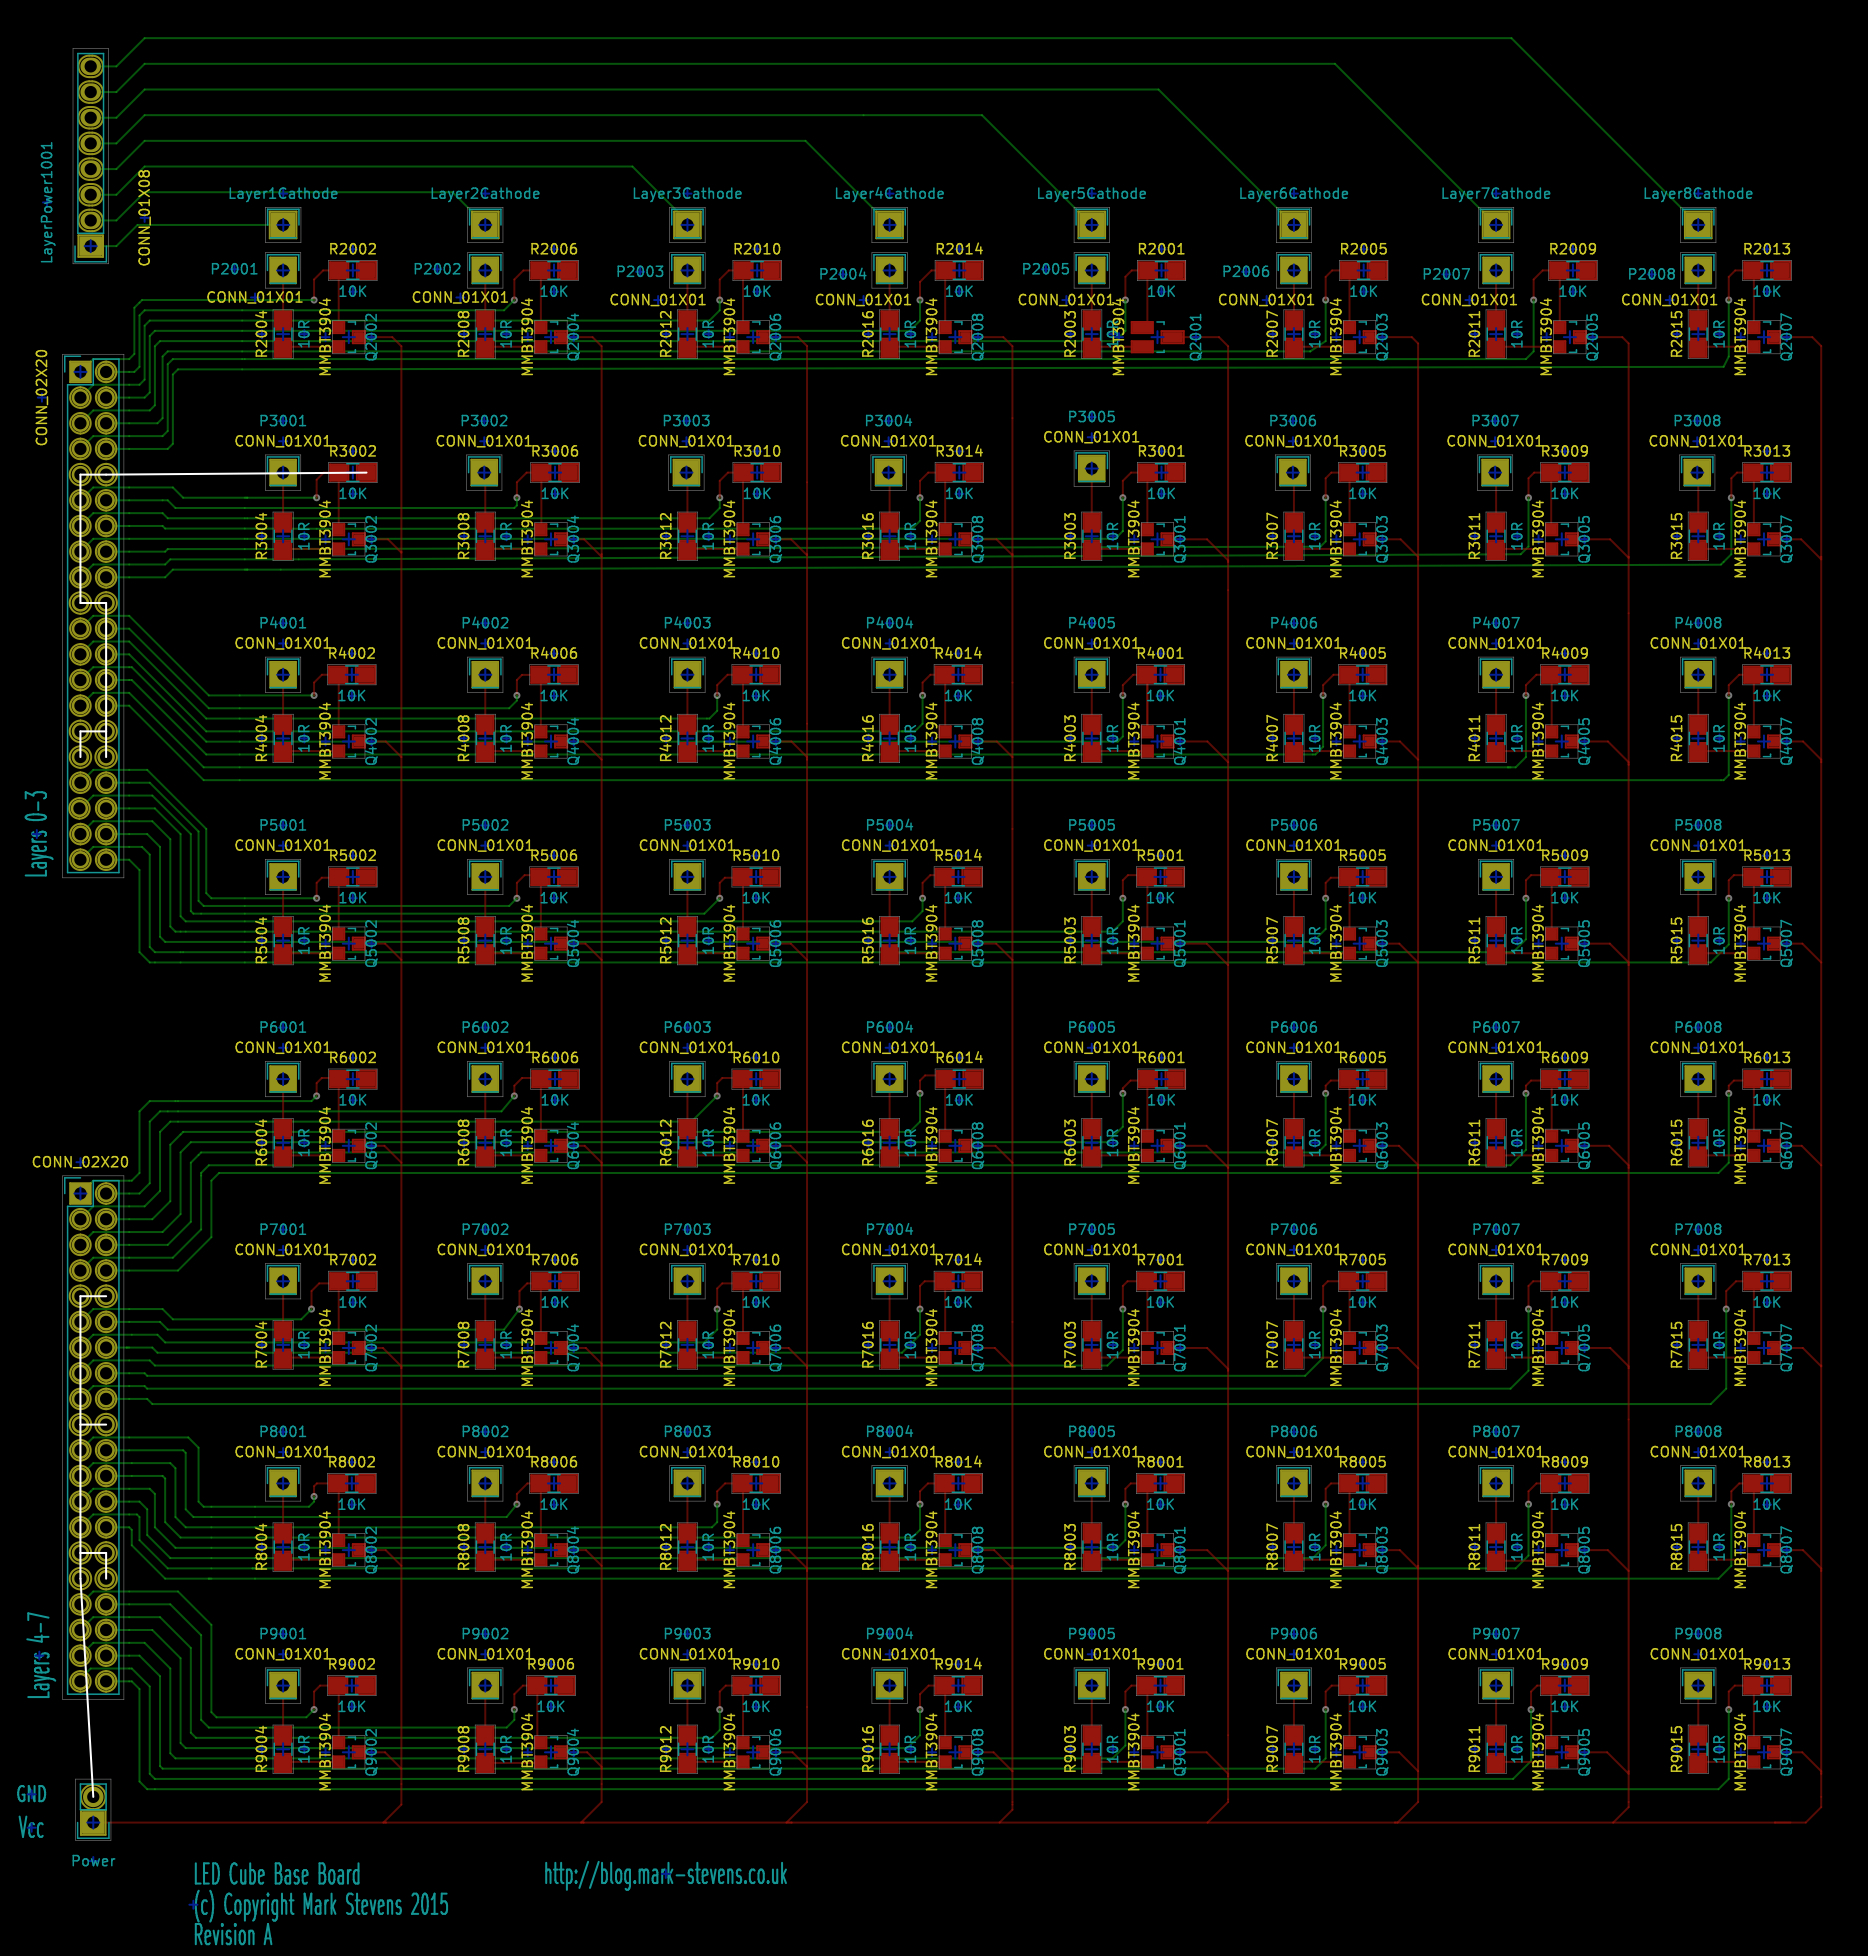
  4. STM8S development
  5. STM32 development
  6. ESP8266 development

Some of the above require access to Windows, certainly Visual Studio requires Windows, some have Mac options available (STM32 for example), some have only Windows solutions. There are several options for running Windows on a Mac but no supported ways of running OSX on a PC.

Windows can run on a Mac natively or in a virtual machine. Several options are available, BootCamp for a native implementation and VirtualBox, Parallels offer a virtualised option. Parallels is attractive as it offers coherence mode. This allows a Windows application to appear on the Mac desktop in a Window on the Mac desktop.

The only major concern now is compatibility, hardware compatibility. Some of the tools are only really available for Windows, alright either easily available for Windows or only available for Windows.

Let’s start with Visual Studio and Netduino. The recent release of Visual Code does not really make up for the wealth of tools available within Visual Studio. Netduino is a C# development environment and so this is really restricted to Visual Studio. The good news is this works well under Parallels.

The IAR development environment for the STM8S is currently only available for Windows.

Development environments for STM32 are available for both Windows and Mac. VisualGDB provides a convenient method of programming the STM32 under Windows using Visual Studio. There are several tutorials available discussing the use of Eclipse to work with the STM32, so which works and more importantly, which is more convenient?

ESP8266 can be programmed using the Arduino IDE. The board can be added using the board manager. This means that the board can be programmed from a Windows or Mac environment.

The Xamarin tools for Visual Studio is an area I wish to research and use in the future. These tools require both Windows and OSX systems.

Initial investigation indicates that using a Mac may be an option.

Virtualisation

Reviewing the criteria above it is obvious that Windows needs to be installed on the Mac either natively, dual booting or virtualised.

The native installation would offer some benefits like having the entire machine resources available but this would make Xamarin development difficult as Visual Studio needs access to a Mac as a build server.

The option finally selected was Parallels as this allows Windows to run either as a virtualised machine in a window or to allow Windows applications to run as individually as windows on the OSX desktop.

New Software Challenges

There have certainly been some new software challenges. Moving from SQL Server to MySQL has been interesting to say the least.

Notepad++ is one tool which has been missed but there are Mac alternatives (TextWrangler and Sublime spring to mind).

Macs don’t get viruses do they!!! Not falling for that one. Luckily my ISP (BT) provides AV free of charge using McAfee’s products. I thought this would be an issue but no, there is an OSX version of McAfee’s tools available and best of all it’s “free” to me.

Backups have been made challenging as the Mac can currently read NTFS file systems but cannot write to them. All backups should be encrypted in case they are lost. Alright, only some data is sensitive, bank statements, etc. should certainly be hidden away from view. You could argue that the music collection is not really sensitive but as this is all tied up with iTunes then encryption is needed.

Conclusion

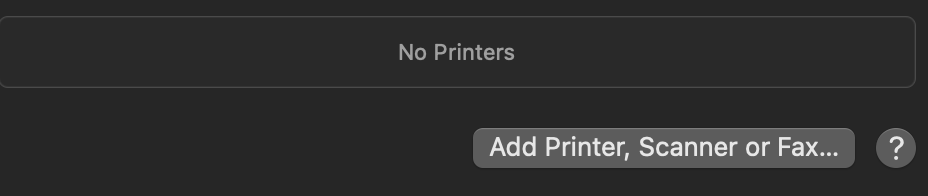
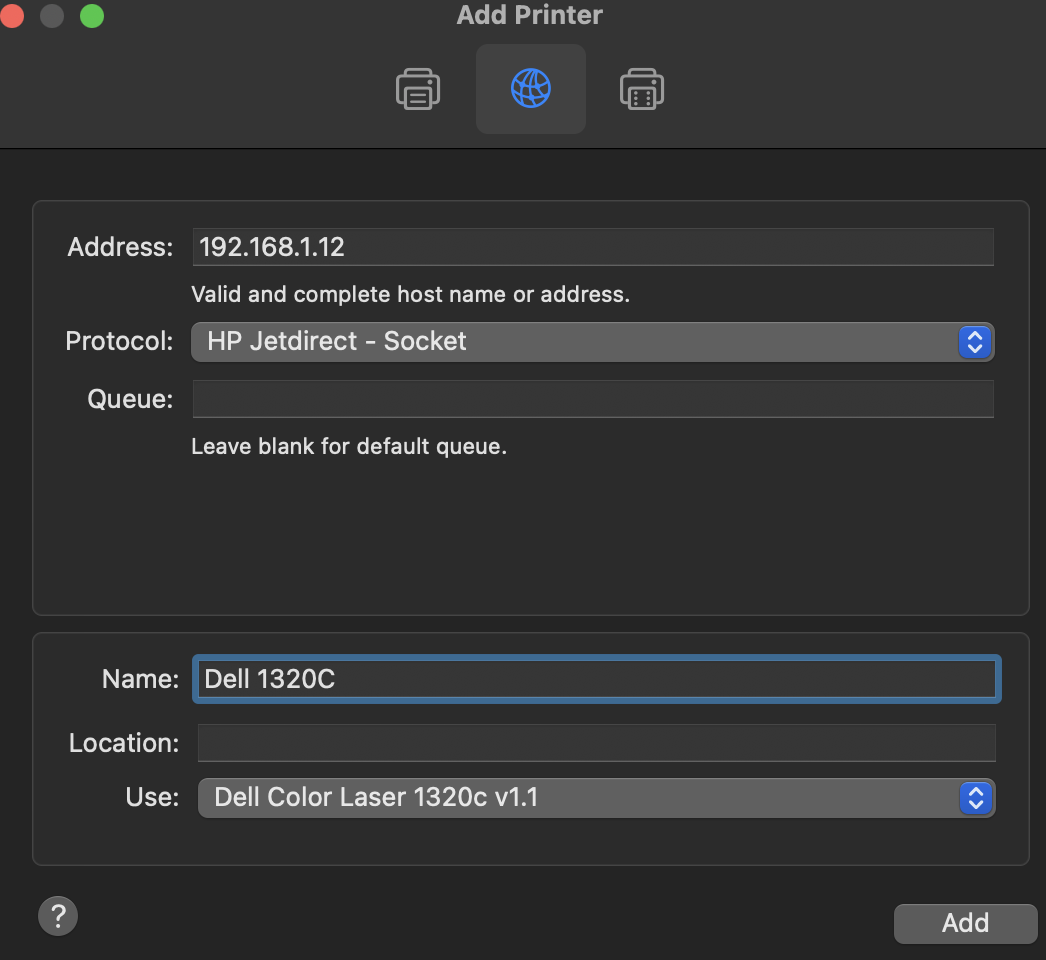
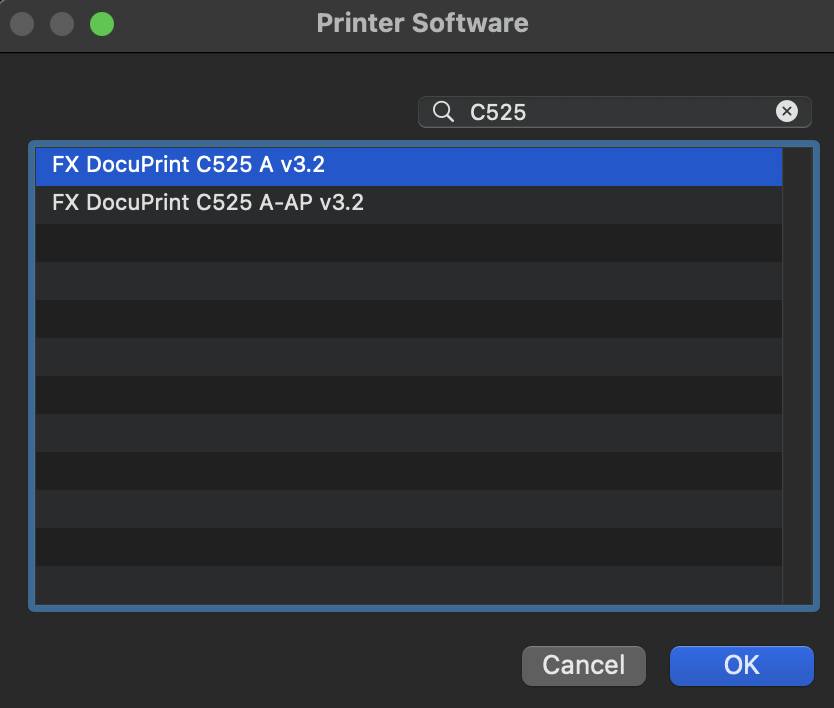
So how did the experience go? Well so far everything seems to have gone well. All of the necessary tools are installed and running as expected.

An early decision to use OSX native tools where possible in preference to Windows tools has made life interesting at times. The STM32 development environment has been challenging to set up on the Mac. The Windows option using VisualGDB seems to be the best option so far.

The Mac chosen was the MacBook Pro. There has been a major advantage using this machine over a laptop, fan noise. The old laptop was noisy, the fans started as soon as any real load was placed on the machine. The MacBook is silent by comparison, in fact no, the new MacBook is silent most of the time. The few times I have heard the fans start have usually coincided with Windows running.

It has been an interesting few weeks, well nearly six weeks but the system is up and running. Next stop, some more hardware development.

Interesting Book Offer

Tuesday, July 1st, 2014

Packt Publishing are celebrating their 10 year anniversary by offering any e-Book for $10 until 5th July.

I’ve read a few of their books recently as I’ve been experimenting with mobile development. Had a look at iOS and currently checking out Xamarin. Interestingly, the special offers also seem to apply. I noticed this afternoon that a couple of books (Raspberry Pi networking plus C Programming for Arduino) when purchased together would only cost £11.80.

I’m currently working my way through the iOS Xamarin Cookbook and that’s looking to be a really useful book. Next step is looking at the Android and Windows Phone equivalents.

How much would you pay?

Monday, June 3rd, 2013

One of the joys of being a hobbyist is the fact that you can take a project as far as you want to. Something really fun nearly always remains fun and does not make any money. As long as it’s a hobby it does not really matter.

So what do you do when you want to make money from your hobby. This is the question which Michael Ciuffo of ch00ftech found himself addressing with his QR Clock project earlier this year.

I’d check out The Slowest $380 I’ll Ever Make post for advice on the pros and cons of taking a hobby idea from concept to production.

Regular readers will know that I rarely post links to other peoples work but I feel that I should share this post as much of the post resonates with me. The Output Expander project was for me a great exercise as I had never taken a project from concept through to professional PCB manufacture. Having done this I was left with a simple question – could I make some extra money from this?

I think Michael’s post answers this question and it’s well worth reading.

Happy Birthday to the BBC Micro

Thursday, December 1st, 2011

The emergence of low cost computers in the UK market in the early 1980s kick started many a career in IT. The early market was not dominated by one type of machine but rather one full of choices from a myriad of companies. School playgrounds across the country soon became split between two camps, you either loved the Spectrum or the BBC Micro (which quickly became known as the Beeb). There were friends with other computers (Vic 20, Dragon, Commodore 64 to name a few) but these people were in the minority and viewed as weird.

Today marks the day the BBC Micro was first launched on the market. At the time it was expensive compared to the other machines on the market but it was supported by the BBC in the form of a TV series about computers and their uses.

At the time the BBC Micro was launched I had already been programming for several years but it is this machine which I remember with fondness. I had a great time learning how this machine worked and even purchased the Advanced BBC Micro handbook. It was this handbook which allowed me to get closer to the hardware. I even wrote my own disc operating system. This also taught me a very valuable lesson, always backup your work – I accidental tested the format command on the disc containing the only copy of the source code. To my dismay it was one of those occasions where I had managed to write 200 lines of assembler which worked perfectly first time.

The early industry meant that schools had to quickly put together a programme of lessons which taught pupils about the new machines and how to use them. The lack of software such as spreadsheets, presentation software etc. meant that children were taught about the machines and how they worked. Something which is lacking today. This lack of understanding about how computers actually work is slowly being recognised here in the UK and it appears that the government is starting to recognise that something needs to be done. One group of people who remember those early days are already working on a small computer for the education market. Check out the Raspberry Pi for more information on the project.

You can read more about the BBC Micro in this article on the BBCs news web site.

Happy Birthday BBC Micro

What – No Blog?

Saturday, April 10th, 2010

I have to admit it but it has taken me far too long get my web site and this blog sorted out.  The stimulus came with the move to a new hosting provider and the fact that I get the flexibiliy I wanted and the ability to work with the technology I was happiest with.  So here we are, a week later and the blog site is up and running.  I suppose I’ll have to address the web site next.

So, what can we look forward to?  To be honest I don’t know.  There will certainly be a fair amount of technology content along with the odd thing I find amusing and want to share.

All I can say is I’ll keep you posted <groan>