Photo to Pencil Drawing With Affinity Photo
Sunday, February 11th, 2024

Another aide memoir, how to convert a photo into a pencil sketch using Affinity Photo. I don’t do this often and so I always forget the steps.
In the following I will refer to the Mac keystrokes which use the CMD key, on the PC use the CTRL key.
Starting Point
This example will use a photo of a working cocker spaniel:
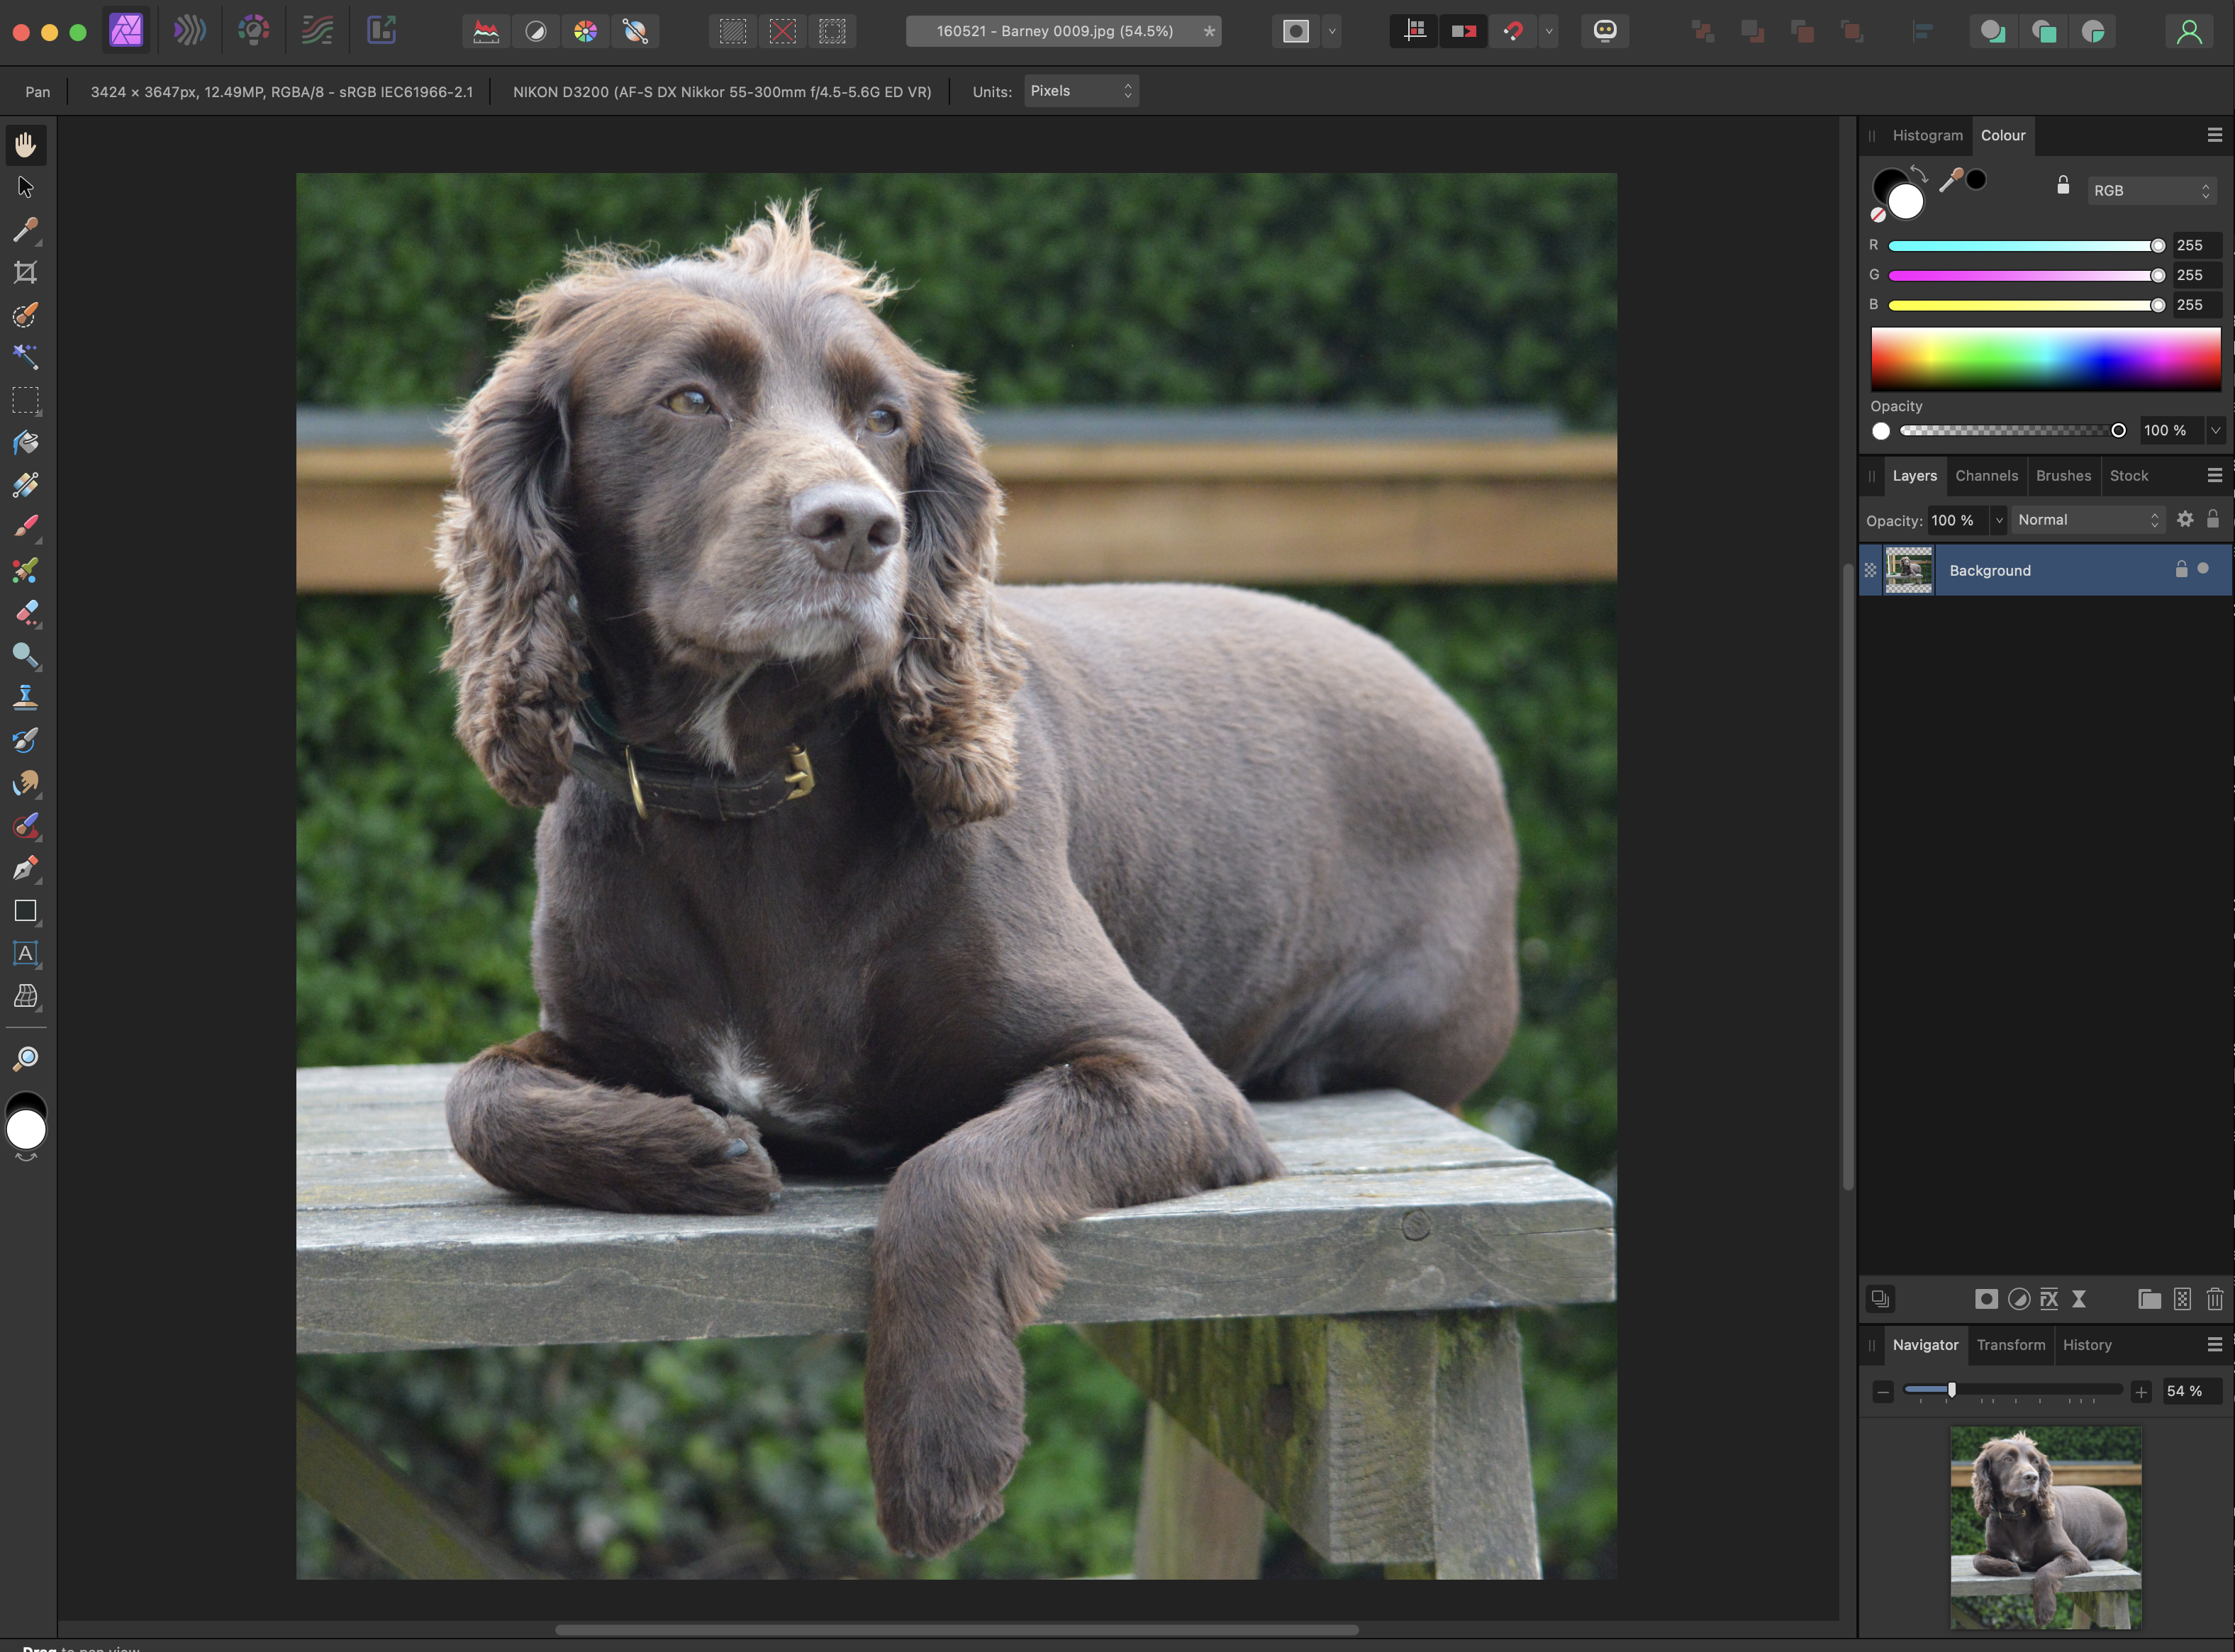
Original Image
The image has a reasonable amount of detail and will be a challenge.
Essential Steps
Form me, the first step when working with any photograph it to create a duplicate of the original and make sure that the original is locked.
Shortcut: CMD+J
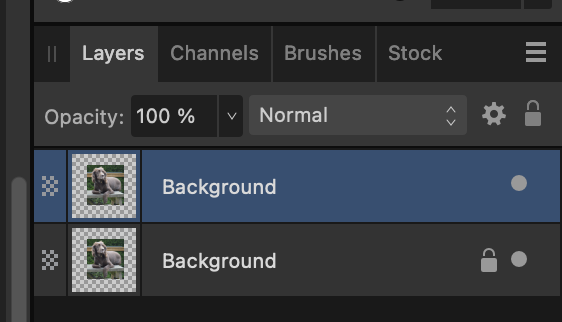
Duplicate Layer
Next step, invert the image on the duplicate layer.
Shortcut: CMD+I
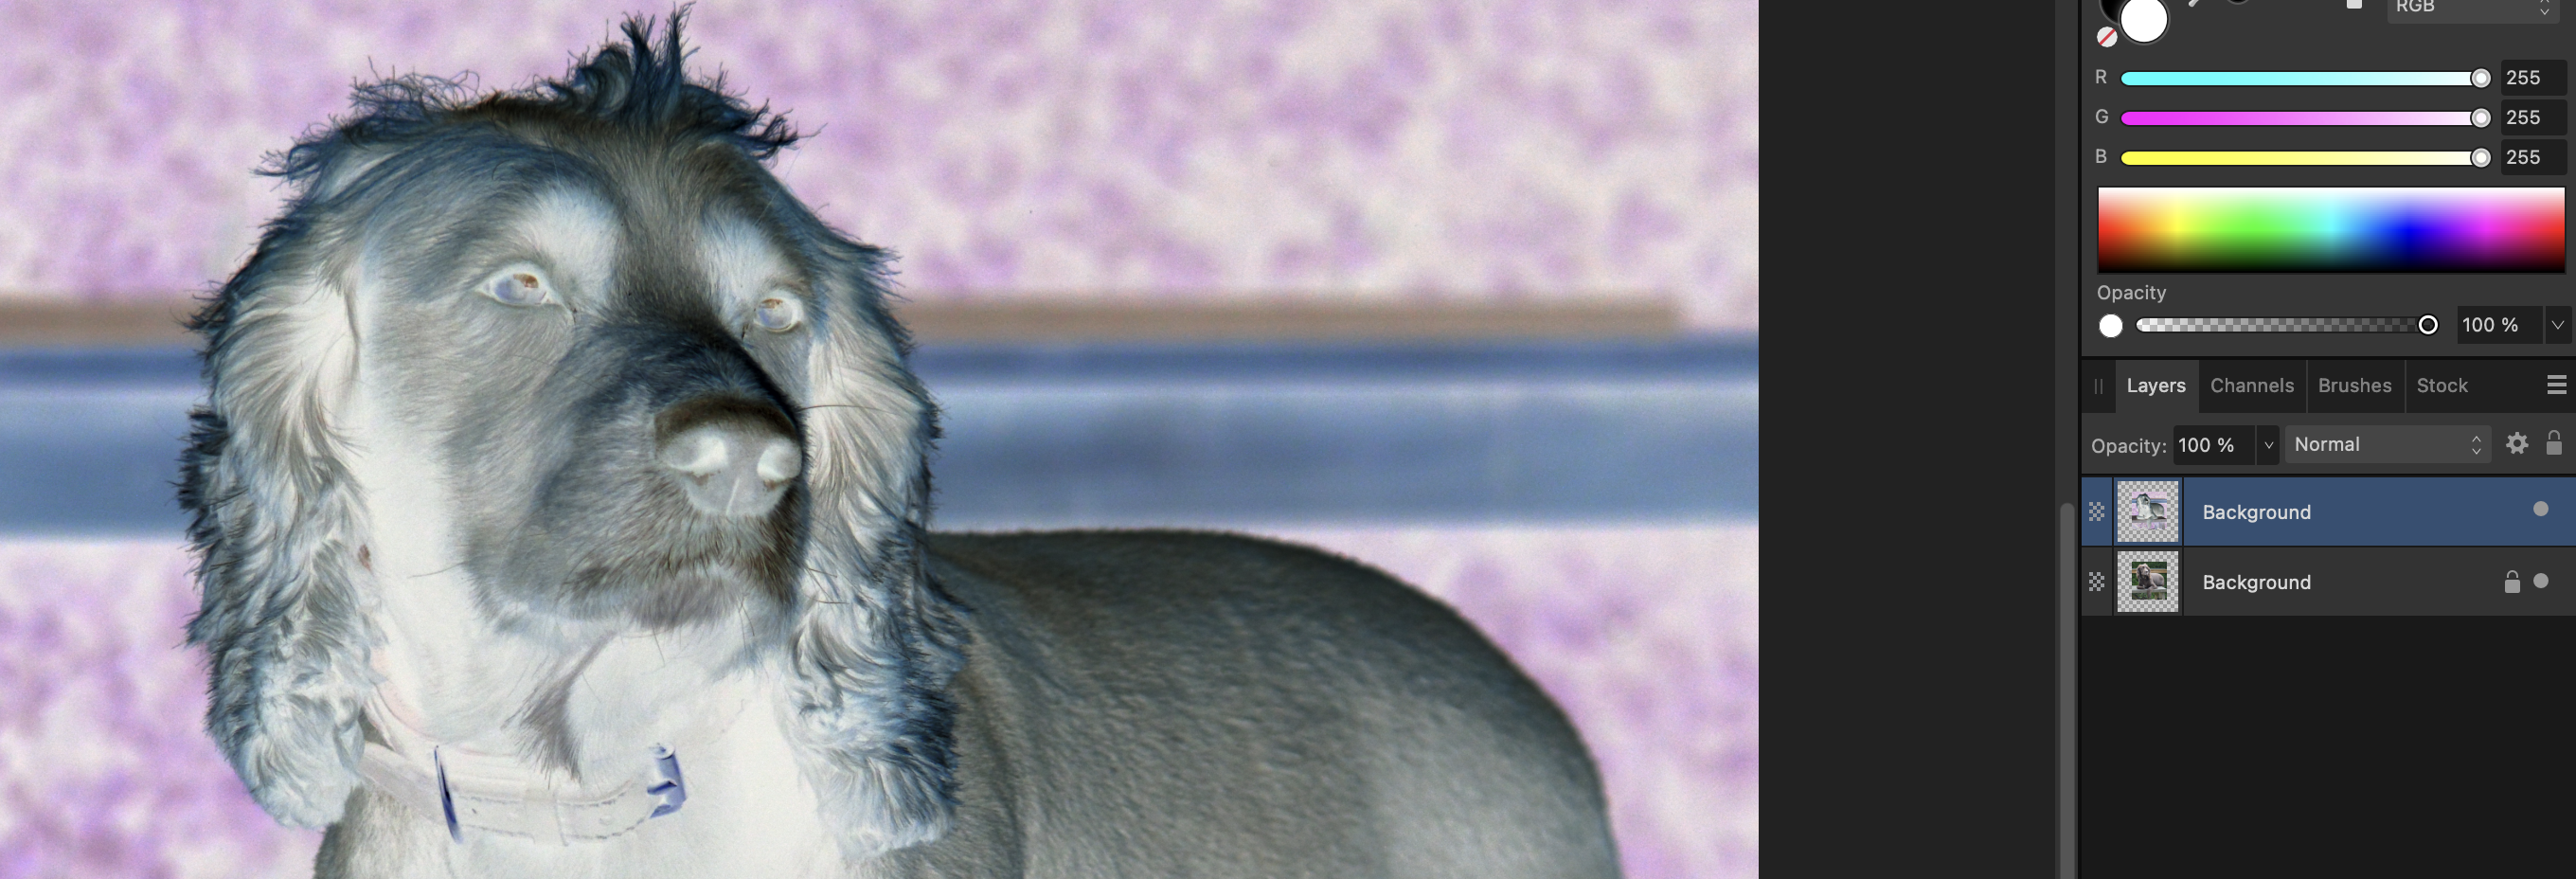
Invert duplicate layer
Next up, change the blend mode of the duplicate layer to colour dodge.
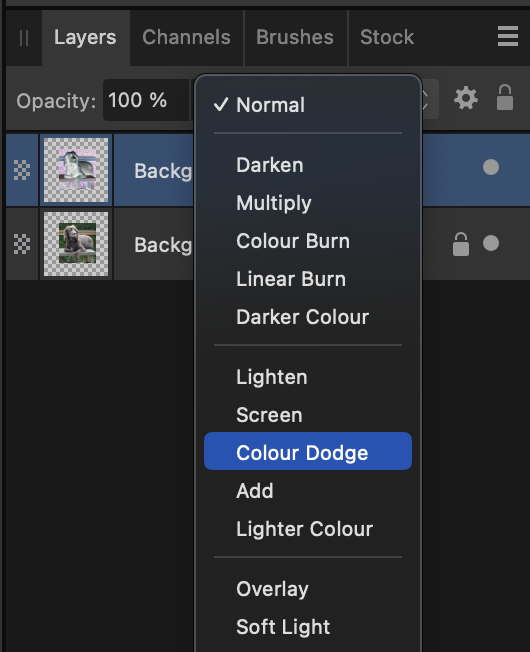
Colour Dodge
The image should now turn white. Now add a Gaussian blur to the duplicate layer.
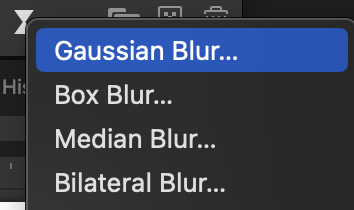
Gaussian Blur
Use the slider to change the radius until you are happy with the effect.

Change Blur Radius
At this point the image still has some colour in it. Adding a HSL adjustment and reducing the saturation to 0% will remove the colour.
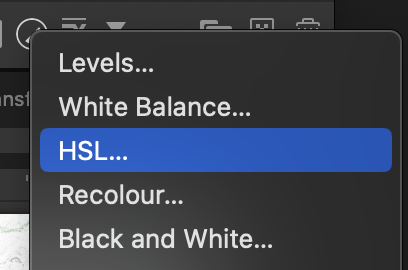
Add HSL Adjustment
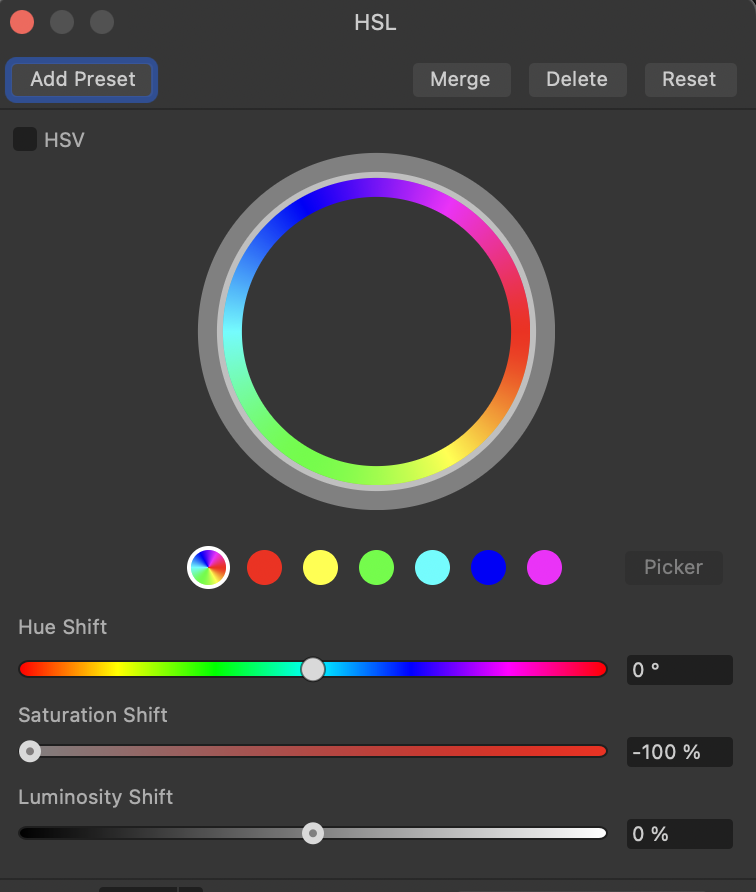
Set saturation to 0%
The final step is to add a Levels Adjustment:
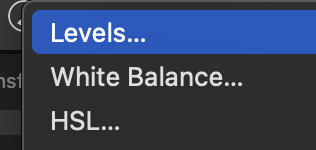
Adjust Levels
and adjust the black level:
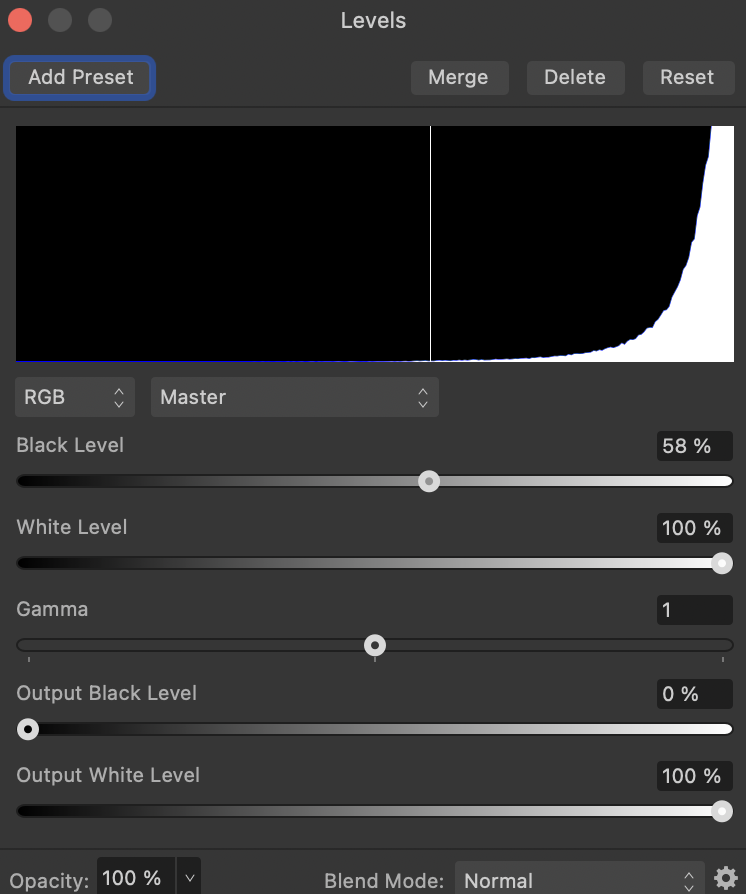
Change the Black Level
Here is a zoomed in section of the final image:

Image post levels adjustment
Optional Additional Adjustments
There are some additional adjustments that can be made to give the image the appearance of an actual pencil drawing:
- Add a paper like canvas to the image
- Use a mask layer to paint out some of the background around the edges giving a blurred edge
- If the edge of the image is predominantly white then maybe use the inpainting tool to remove any slightly grey areas in the background
Conclusion
Here is the full image with just the essential adjustments:
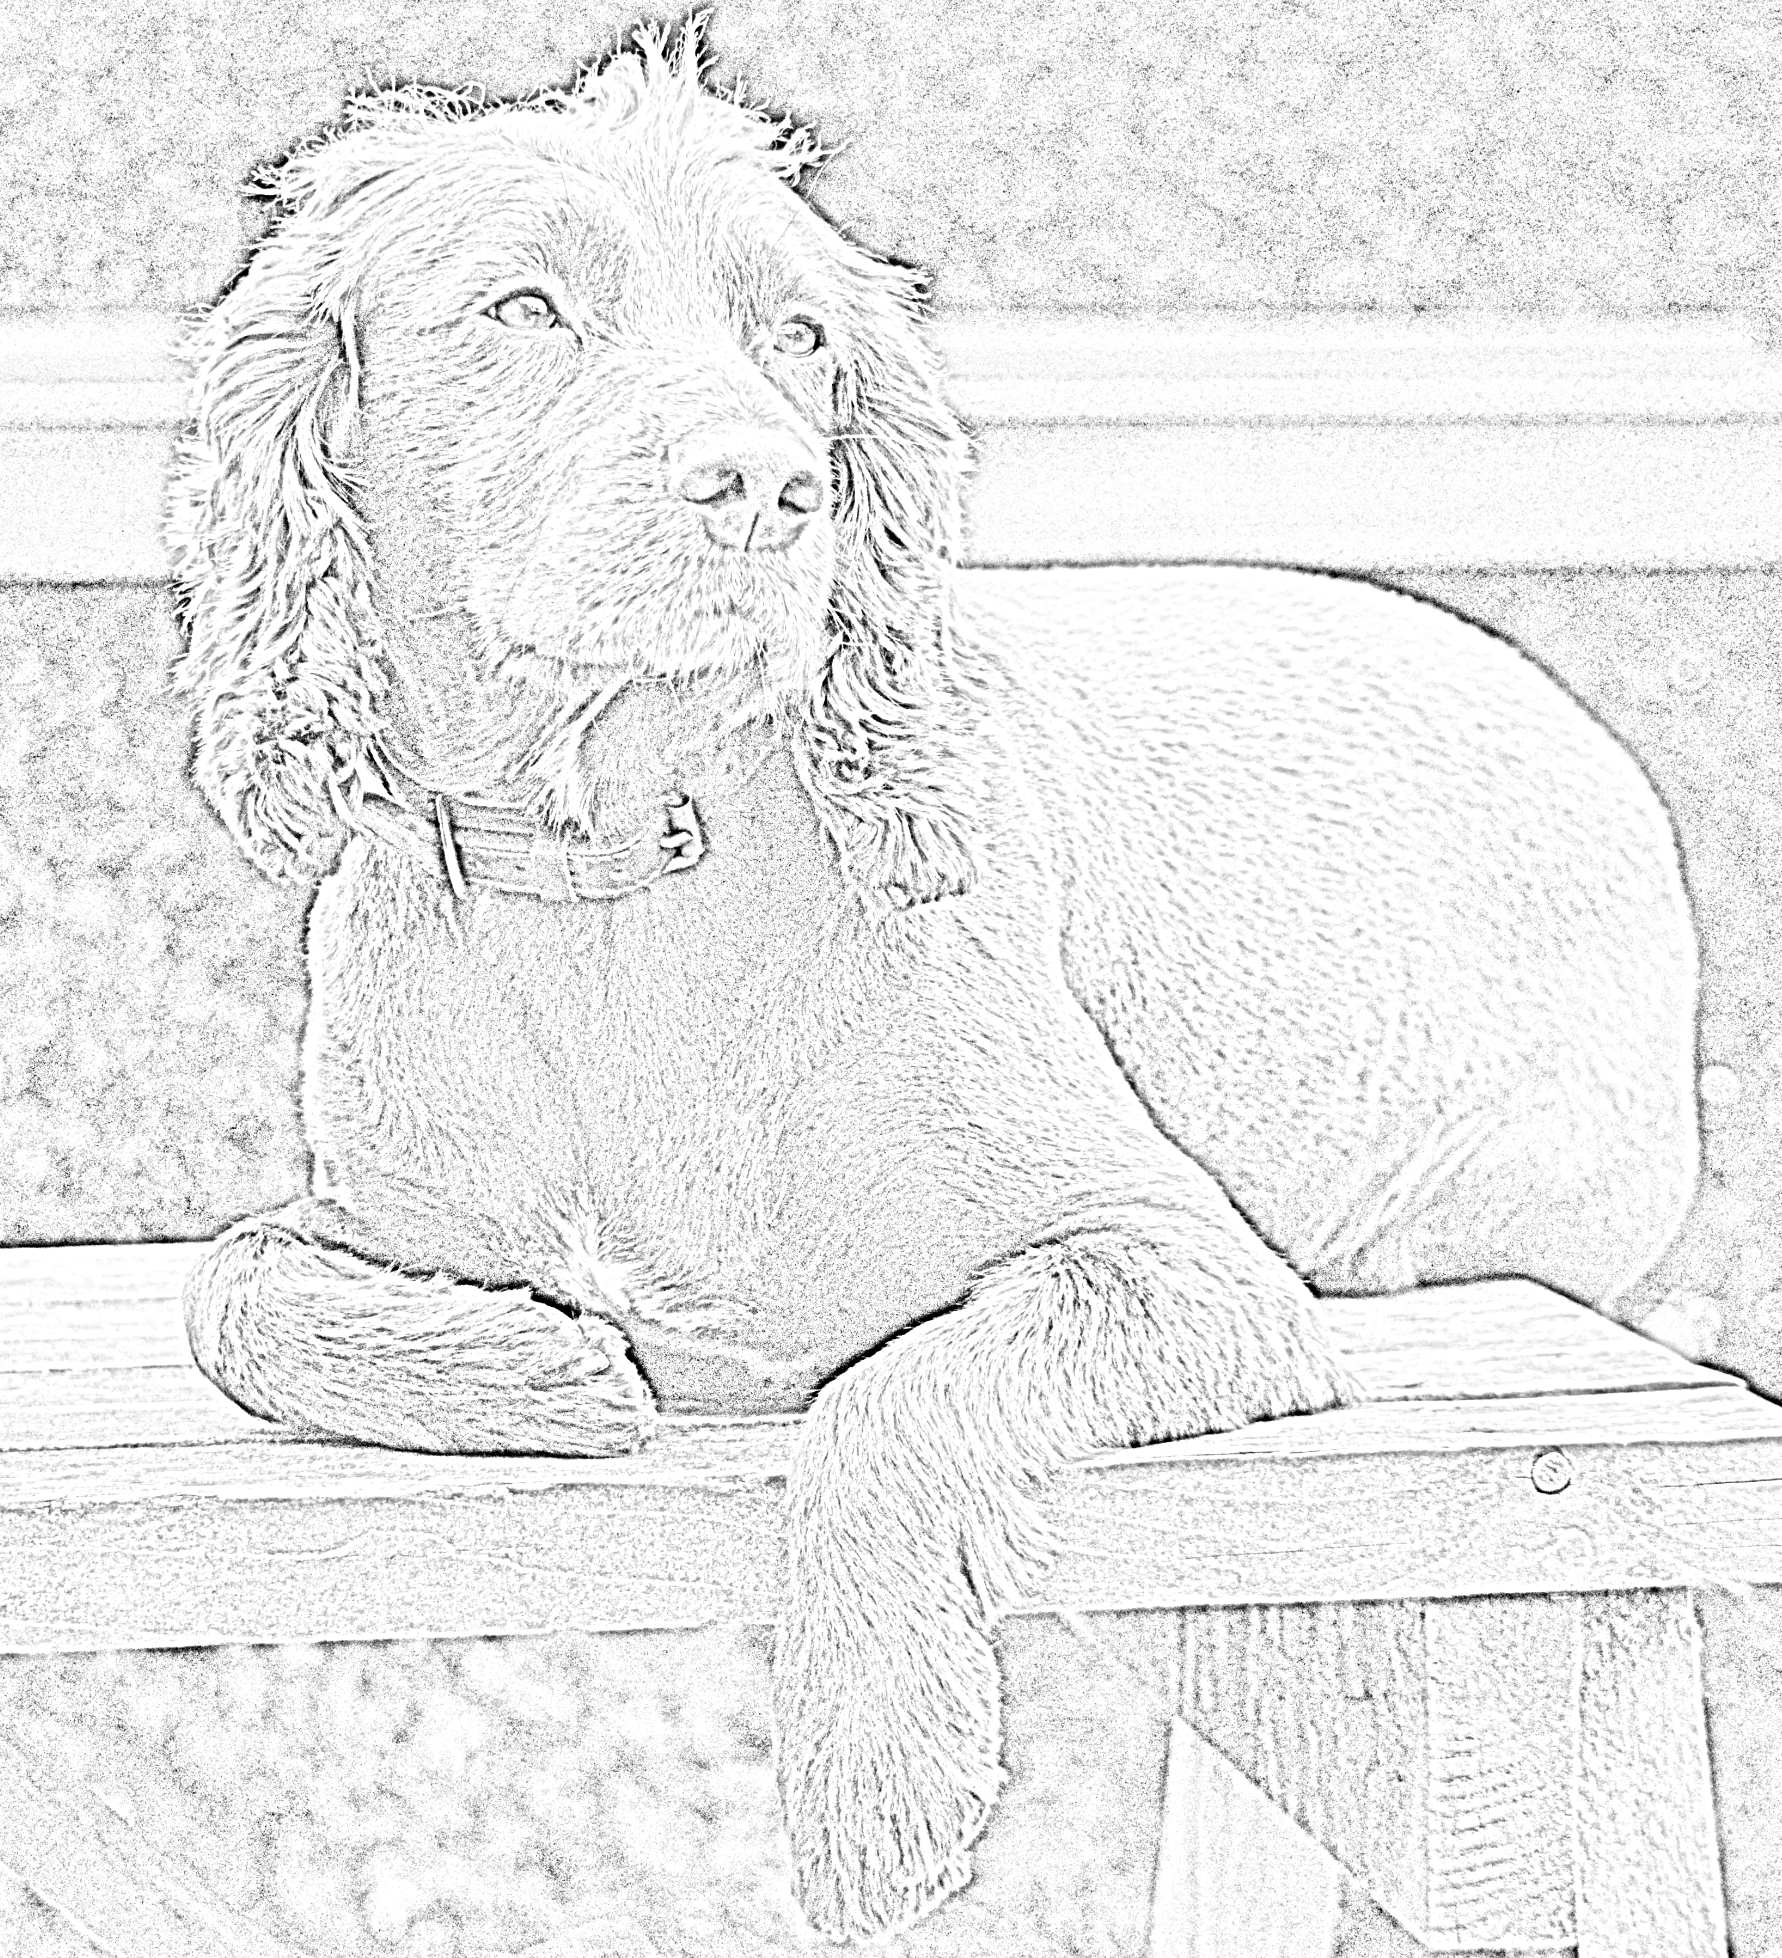
Final Image

