PicoW with SmartFS

One feature that I want to add to my current project is to add a small file system with files that have been built into the system at compile time. These files would then be available to the application at run time. Let’s look at how we can do can do this with NuttX.
This tutorial assumes that you have NuttX cloned and ready to build, if not then you can find out how to do this in the first article in this series.
Adding SmartFS to the Build
NuttX has a built in configuration for the PicoW with SmartFS already configured. The first thing we need to do is to start with a clean system and then configure the build to include NSH and the flash file system. Start by changing to the NuttX source directory and then executing the following commands:
make distclean
./tools/configure.sh -l raspberrypi-pico-w:nsh-flash
Now we have the system configured we can build the OS and applications by executing the following command:
make -j
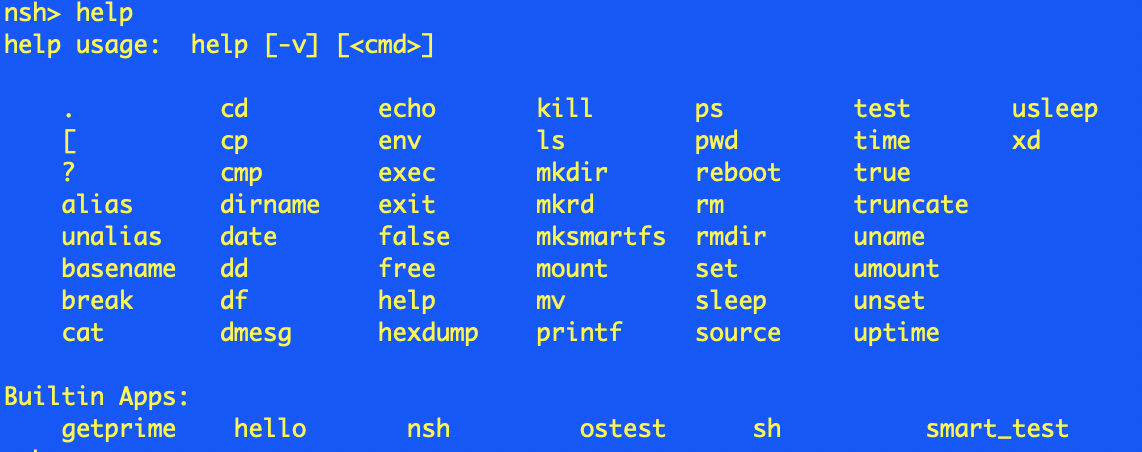
This should take a minute or so on a modern machine. Now we can deploy the system to the PicoW either by using openocd or by dragging the uf2 file onto the PicoW drive. Now connect to the PicoW using a serial application and type help to show the menu of commands. You should see something like the following:
SmartFS Builtin Apps
We can check to see if the SmartFS is available checking the contents of the /dev directory with the command ls /dev. This should result in something like the following if SmartFS has been enabled correctly:
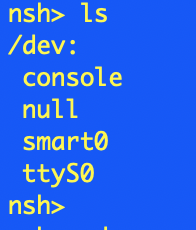
Device Directory Listing
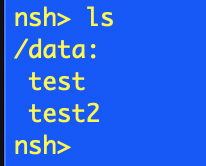
We can mount the file system using the command mount -t smartfs /dev/smart0 /data and then check the contents of the /data directory and we should find one file in the directory, test. Checking the contents of the file with the command cat /data/test should find that it contains a single ine of text which should be Hello, world!.
So far, so good, we have built the system and proven that it contains the default file and correct contents.
Adding a New File to the System Image
The next piece of the puzzle is to work out how to add new files to the file system. This took a few hours to figure out, but here goes…
The first attempt lead me searching for RP2040_FLASH_FILE_SYSTEM in the source tree (ripgrep is a great tool for doing this). This lead to a number of possible files. Maybe we can narrow the search down a little.
Second attempt, let’s have a look for Hello, world!. This resulted in a smaller number of files leading to the file arch/arm/src/rp2040/rp2040_flash_initialize.S. This file is well documented and shows how to set up the SmartFS file system and at the end of the file it shows how to create an entry for the file we see when we list the mounted directory. Scrolling down to the end of the fie we find the following:
    sector      3, dir
    file_entry  0777, 4, 0, "test"

    sector      4, file, used=14
    .ascii      "Hello, world!\n"

    .balign     4096, 0xff
    .global     rp2040_smart_flash_end
rp2040_smart_flash_end:
This looks remarkably familiar. So what happens if we change the above to look like this:
    sector      3, dir
    file_entry  0777, 4, 0, "test"
    file_entry  0777, 5, 0, "test2"

    sector      4, file, used=14
    .ascii      "Hello, world!\n"

    sector      5, file, used=14
    .ascii      "Testing 1 2 3\n"

    .balign     4096, 0xff
    .global     rp2040_smart_flash_end
rp2040_smart_flash_end:
Building the system, deploying the code and executing the following commands:
mount -t smartfs /dev/smart0 /data
cd /data
ls
results in the following:
New file added to SmartFS
If we execute the command cat test2 we are rewarded with the output Testing 1 2 3.
Further testing shows that the file system survives through a reset. We can do the following:
- echo “My test” > test3
- rm test
- reboot
These commands should remove the file test, create a new file test3 and then reboot the system. Checking the file system contents shows that the system persists the changes through a reset.
Conclusion
This experiment was a partial success. A simple file system has been made available to an application and the file system survives a reset. One issue remains, adding new files is a little complex. It also requires changes to the NuttX source tree outside of the applications folder. This could result in changes being lost when a new version of NuttX is released.
There could be a solution, ROMFS, stay tuned for the next episode.
Tags: Electronics, NuttX, Pico, Raspberry Pi, Software Development
Sunday, July 2nd, 2023 at 9:02 pm • Electronics, NuttX, Pico, Raspberry Pi, Software Development • RSS 2.0 feed Both comments and pings are currently closed.
