Adding SMP to NuttX on the Raspberry Pi PicoW

So far in this series we have configured NuttX to build C++ applications on the PicoW and we have created our own custom application and successfully deployed this to the board.
In this post we will look at configuring the system to use both cores on the RP2040 processor using the configuration we have developed over the previous posts. NuttX includes a SMP configuration already, raspberrypi-pico-w:smp, this uses UART0 for communication rather than USB hence we will look at add this configuration on top of the USB configuration.
Default Configuration
It appears that the default configuration for NuttX running on the PicoW is to run the processor as a single core processor. Running the ps in the NuttX shell yields the following output:
   PID GROUP PRI POLICY   TYPE    NPX STATE    EVENT     SIGMASK           STACK COMMAND
    0     0   0 FIFO     Kthread N-- Ready              0000000000000000 001000 Idle Task
    1     1 100 RR       Task    --- Running            0000000000000000 002000 nsh_main
From the output we see that there are only two tasks running on the system. From this we can deduce that only one of the cores is enabled. If both cores were running then we should see two Idle Tasks running, one on each core plus the nsh_main task. This is confirmed in the SMP Documentation where we find the statement:
Each CPU will have its own IDLE task.
Now we have this confirmed, let’s move on to reconfiguring the system.
Enabling SMP
According to the documentation we need set three options through the configuration system in order to turn on SMP:
- CONFIG_SMP
- CONFIG_SMP_NCPUS
- CONFIG_IDLETHREAD_STACKSIZE
Starting the configuration system with the make menuconfig we are presented with the top level options screen:
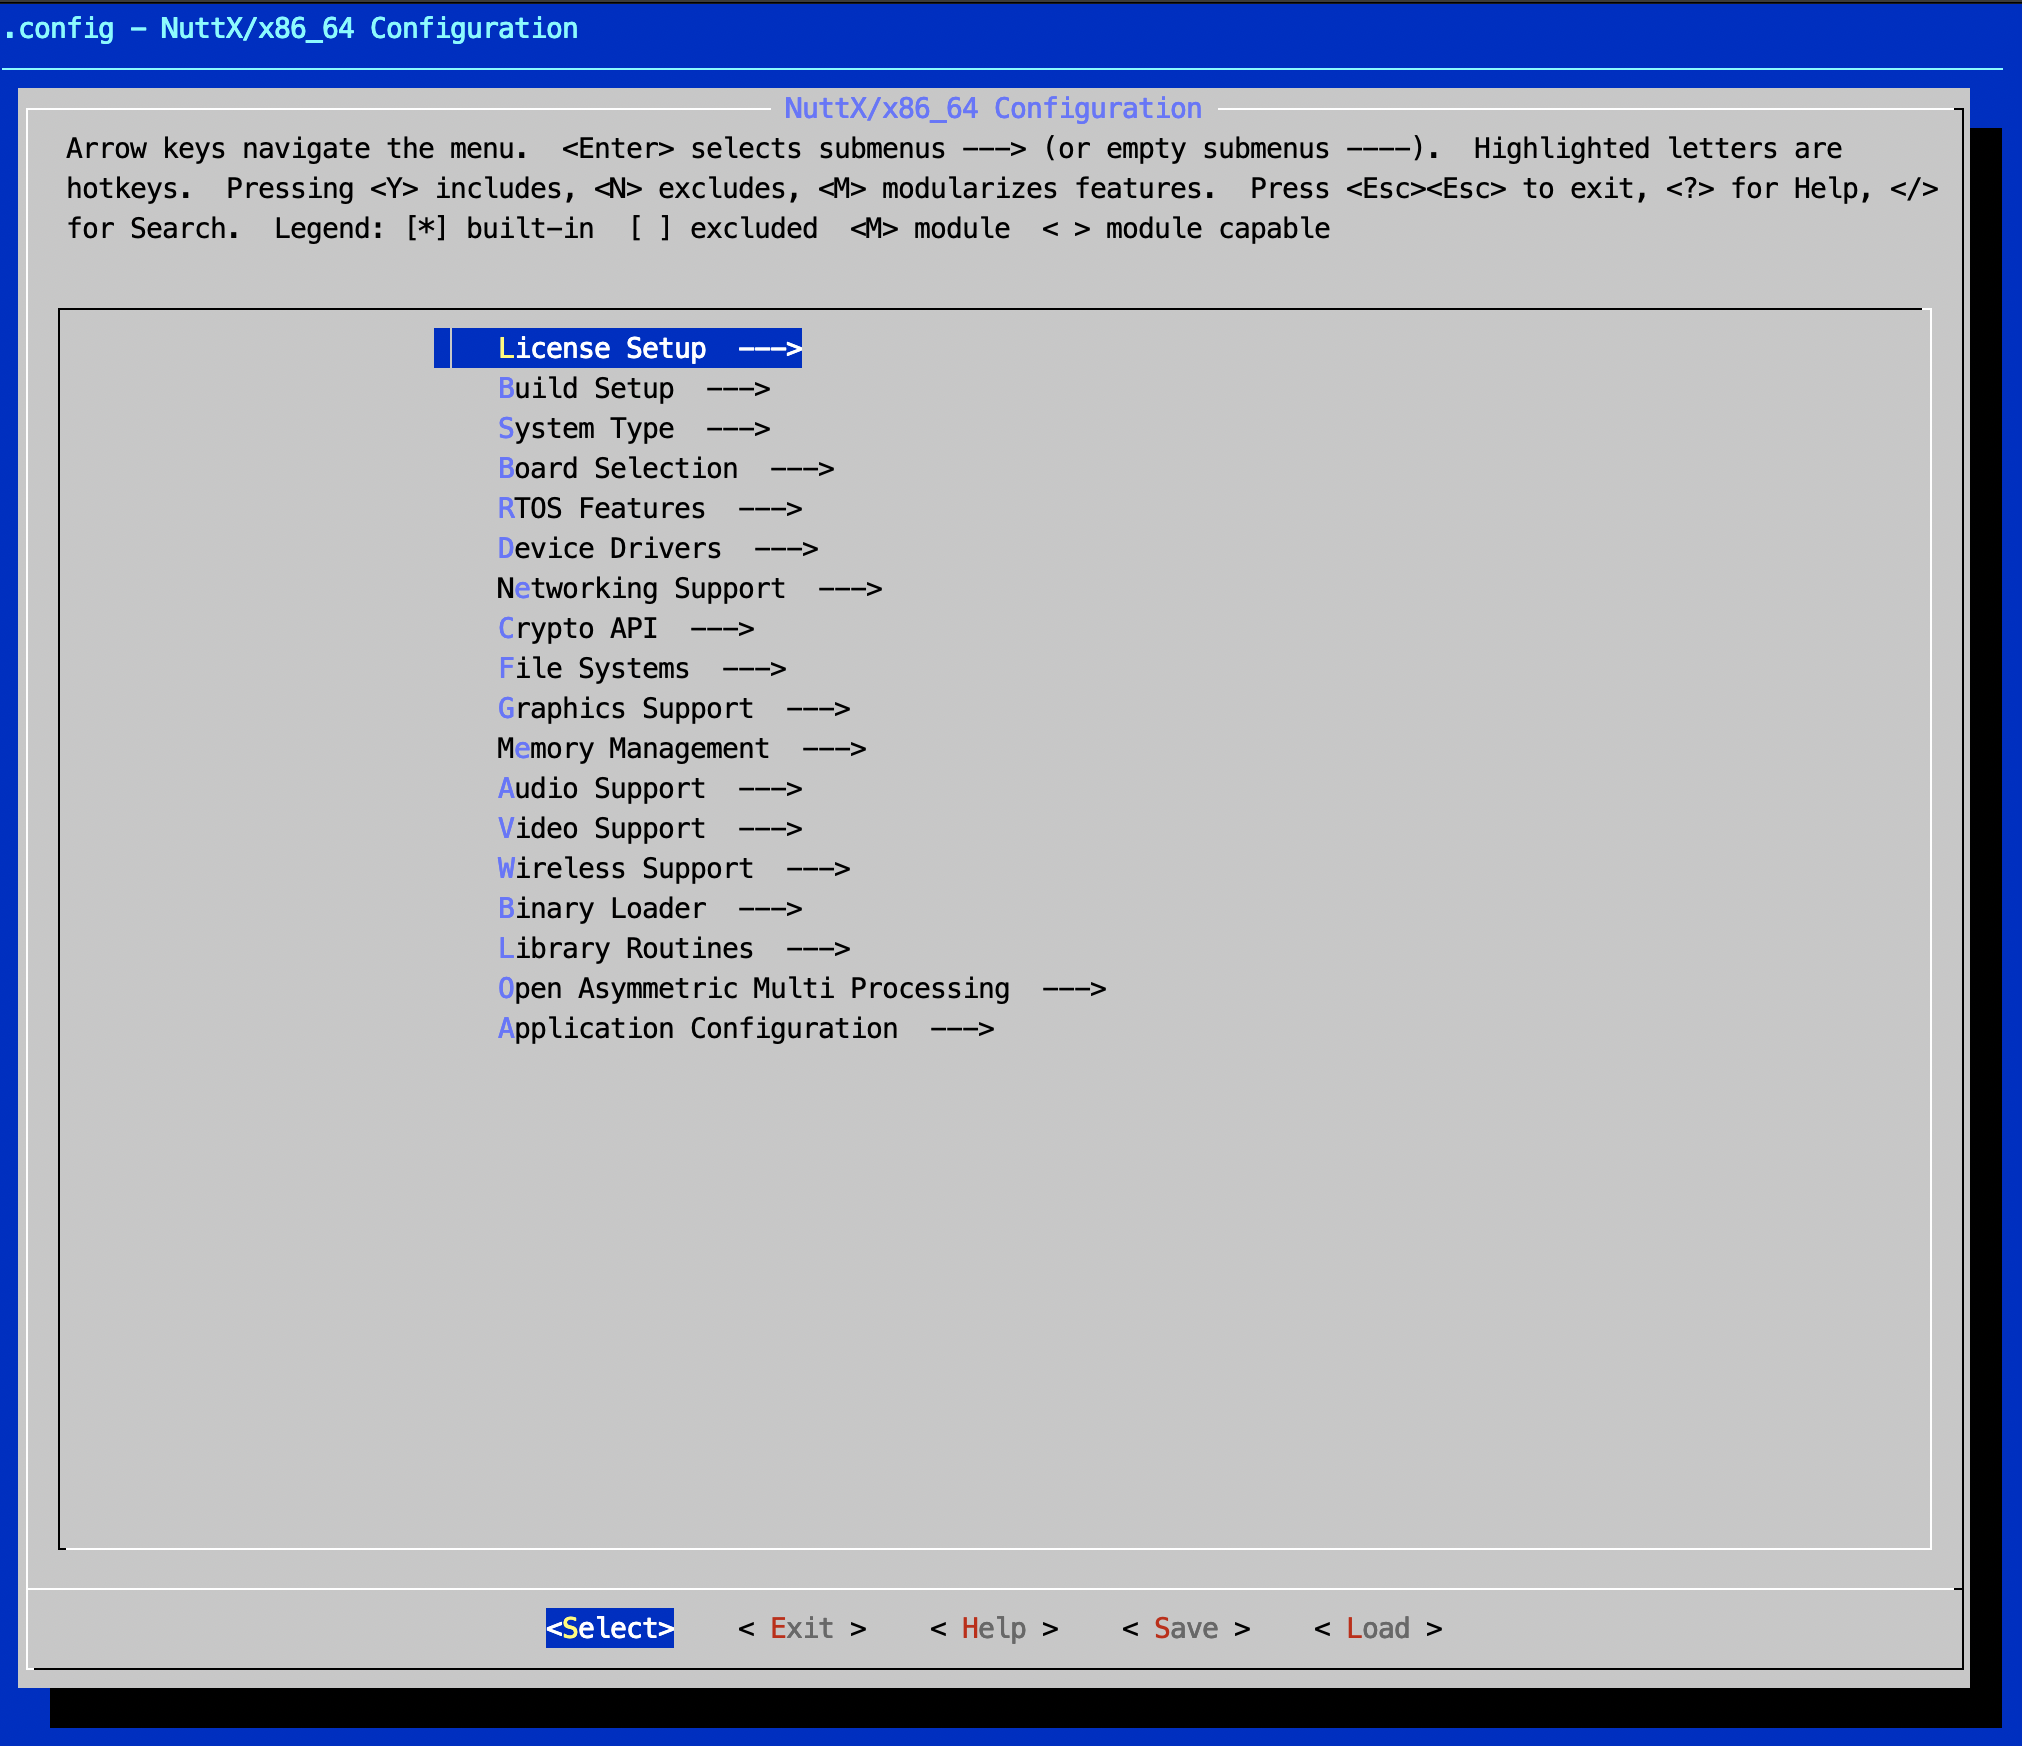
NuttX configuration system
This poses the question “How do I find CONFIG_SMP and the rest of the options?”. Luckily, kconfig has a search option, pressing the / key presents the user with a search dialog box:
Search dialog here.
Typing SMP and pressing return shows a number of results, some are relevant to use, some are not. The longer the search term the more accurate the results will be. In our case, searching for SMP yields a number of results that are irrelevant. However, the top result looks like it is the one for us:
SMP Search results image Here.
The results give us a fair amount of information about the configuration options. If we look at the top entry for SMP (this is actually the option that we need to turn on) the system is giving us the following information:
- The option name (SMP) which will translate to CONFIG_SMP in the various include files
- The location of the option, in this case RTOS Features -> Tasks and Scheduling
- In which file (and the line number) the option is defined, sched/Kconfig, line 271
- Any other options that this option depends upon.
- Any options that will be turned on as a result of selecting this option
You will also note a number in brackets at the side of Tasks and Scheduling. This is the short cut key, in this case 1 and pressing 1 will take us to the appropriate place in the configuration system.
RTOS Features options.
Selecting Tasks and Scheduling by pressing enter we are presented with the following:
Tasks and scheduling, no SMP.
Notice that there is no option to turn on SMP. Confused, so was I the first time I saw this. Pressing the ESC key a few times should take us back to the search results. Reading these more carefully we note the following:
Depends on: ARCH_HAVE_MULTICPU [=y] && ARCH_HAVE_TESTSET [=y] && ARCH_INTERRUPTSTACK [=0]!=0
So we have to ensure that three conditions are met in order to enable SMP:
- HAVE_MULTICPU is set to turned on, this looks to be the case (ARCH_HAVE_MULTICPU [=y])
- HAVE_TESTSET is turned on, again this looks to be the case (ARCH_HAVE_TESTSET [=y])
- INTERRUPTSTACK has a non-zero value, this appears to be false (ARCH_INTERRUPTSTACK [=0]!=0)
It appears that we have not met all of the conditions to activate SMP. We need to look at defining a size for the interrupt stack. So using the search system again but this time for ARCH_INTERRUPTSTACK we get the following results:
Interrupt stack search results
Pressing the 1 key takes us directory to the entry we need to change. Setting the value to 2048 should be a reasonable starting point. We can always adjust this later if we find it is causing problems.
Exiting this menu and the search for ARCH_INTERRUPTSTACK we can search for SMP again. Pressing the 1 key in the search results presents us with a different view, this time we are taken to the SMP option and we can now turn this on. If we do this the system will add some new entries to the menu, one of which defines the number of CPUs available and this is set to 4. We will need to change this value to 2.
SMP Configured image.
We are now ready to build the system.
Build and Deploy NuttX
We should now be ready to build and deploy the system to the PicoW. Executing the following command will build NuttX and create the UF2 file ready for deployment:
make clean
make -j
At the end of the build process we can deploy the UF2 file to the board by putting the board in bootloader mode and dropping the file to the drive that is shown on the host computer. Se the first article in this series for more information on how to do this.
Time to connect our serial terminal to the PicoW and run the ps command once again:
SMP Enabled ps output.
As you ca see from the screen shot above, we now have two ide tasks as expected and the ps command has some additional information, notably the CPU that each task is allocated to.
Conclusion
Adding SMP to the system was not as simple as it first sounded. The main lesson from this was to check the dependencies in the search results. The requirement for an interrupt stack was not discussed in the SMP documentation and this caused some confusion initially. The help in the configuration system came to our rescue and the situation was easily recoverable.
If you have been following the series we are now at the point where we have think about some serious development. We now have space for our own application code, C++ is enabled and we are able to use both cores on the RP2040 microcontroller.
At this point the series will slow down a little as some of the features now need some in depth investigation most notable:
- Using SMP correctly in NuttX
- Interprocess communication between tasks running on different cores
- RP2040 PIO and NuttX
Tags: Electronics, NuttX, Pico, Raspberry Pi
Tuesday, June 6th, 2023 at 6:00 pm • Electronics, NuttX, Pico, Raspberry Pi • RSS 2.0 feed Both comments and pings are currently closed.
